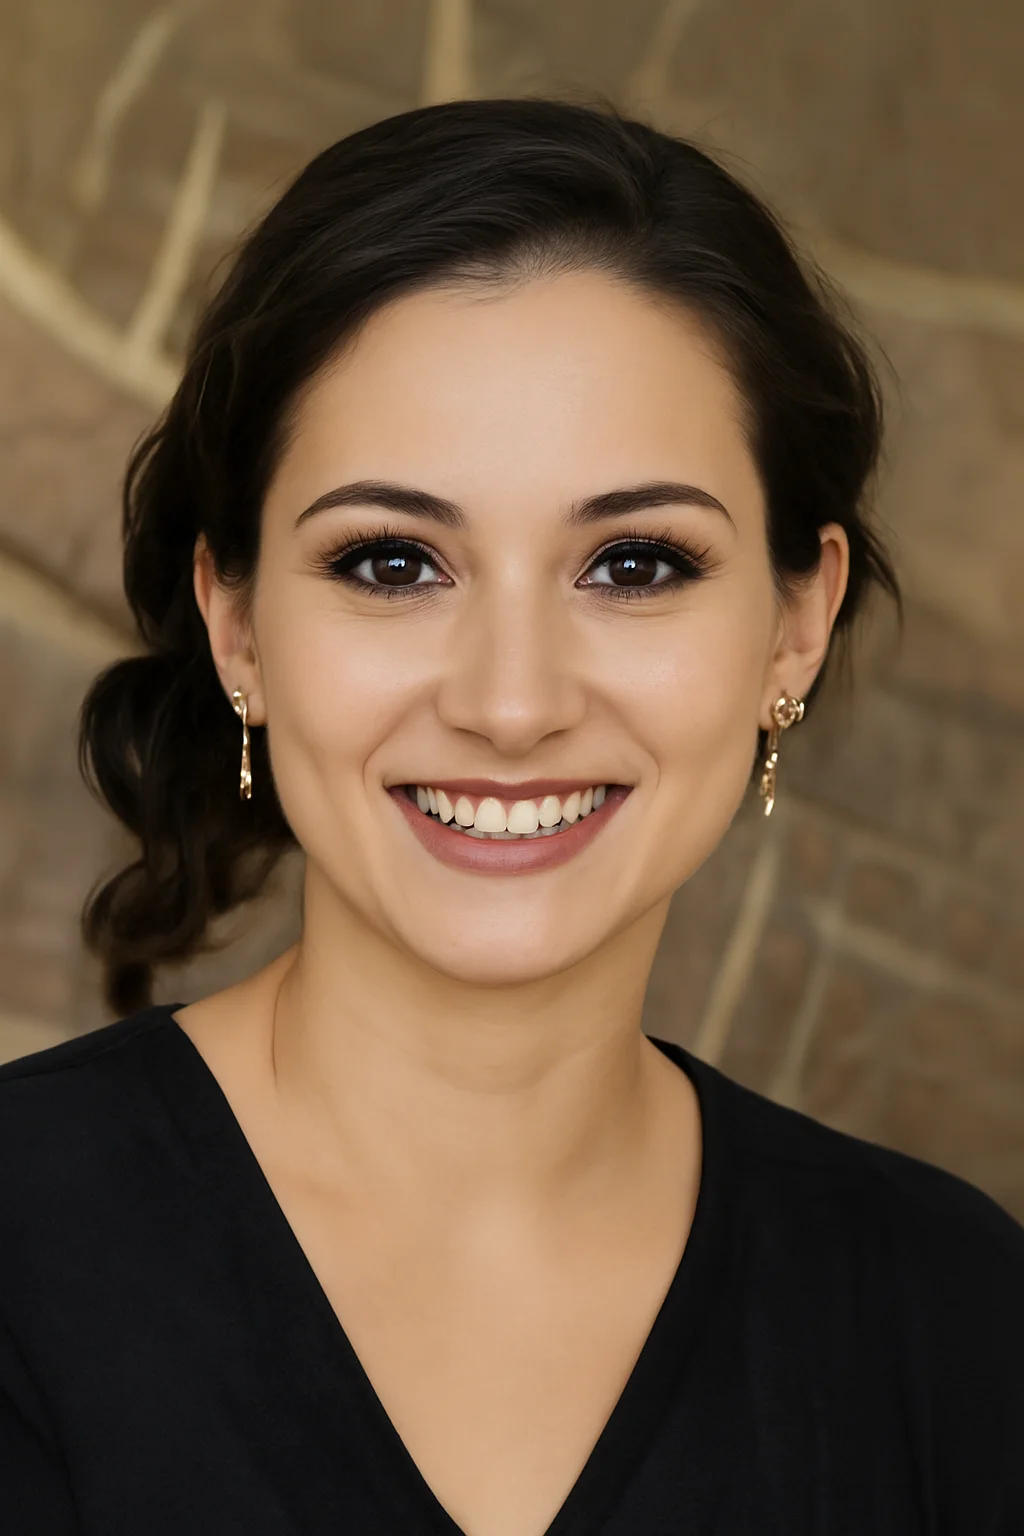
15 Curly Hairstyles That Highlight Natural Texture
Curly hair can look completely different from one day to the next. One morning, your curls may have beautiful shape and volume. The next, they may feel flat, frizzy, dry, or impossible to style. If you have ever stood in front of the mirror wondering what to do with your natural texture, you are not alone. The good news is that you do not need a complicated routine or a drawer full of expensive products to create a hairstyle you love.
These 15 curly hairstyles that highlight natural texture are designed to work with your curls rather than hide them. You will find relaxed everyday styles, polished options for going out, and simple ideas for days when you want your hair off your face. Each look includes practical styling tips, product suggestions, and budget-friendly ways to recreate it at home. Whether your curls are loose and wavy or tight and springy, there is plenty here to try.
1. Soft Curly Layers for Natural Volume
Soft layers give curly hair room to move. Instead of one heavy shape that can make curls look bulky at the bottom, layered curls create a rounded silhouette with plenty of bounce. The result feels light, touchable, and full of natural movement. I especially love this look when the curls are allowed to dry without being brushed into place. A few loose tendrils around the face make the style feel relaxed rather than overly styled.
Ask your stylist for layers that follow your natural curl pattern instead of requesting a straight-hair layering technique. Curly hair can shrink considerably as it dries, so dry cutting may help your stylist see the final shape more clearly. At home, use a lightweight curl cream followed by a small amount of gel. Scrunch upward and let the hair air dry or use a diffuser on low heat. A common mistake is adding too much product at the roots, which can flatten your volume. Expect to spend around $40 to $100 for a professional cut, depending on your location.
2. Curly Hairstyles That Highlight Natural Texture With a High Puff
A high puff is one of those curly hairstyles that looks stylish while taking very little time. The curls gather into a full, rounded shape at the crown, creating height without needing to stretch or straighten the hair. The contrast between the sleek edges and the soft, voluminous curls makes this look especially striking. It also works beautifully when your curls are a little older and need a fresh styling option.
Start by gently gathering your hair toward the top of your head. Use a satin-friendly scrunchie, puff cuff, or soft elastic rather than pulling tightly with a thin rubber band. Smooth only the front and sides with a little styling gel, leaving the curls in the puff untouched. If your hair feels dry, refresh it with water and a small amount of leave-in conditioner before gathering it. Avoid pulling the style too tightly every day because repeated tension can be uncomfortable and stressful for your edges. You can recreate the look with products costing roughly $10 to $30.
3. Side-Parted Defined Curls
Sometimes a simple change in your part can make your curls look completely different. A deep side part adds shape and gives defined curls a slightly more polished appearance without taking away their natural character. The fuller side creates visual volume, while the shorter side frames the forehead and cheekbone. It is an easy choice when you want your everyday curls to feel a little more dressed up.
Begin with damp hair and work a curl cream through small sections. Create your side part while the hair is wet, then scrunch the curls upward with your hands. Use a small amount of gel over the outer layer if you want more definition. A diffuser can speed up drying while helping maintain the curl pattern. Once your hair is completely dry, gently separate a few curls with your fingertips. Do not rake a brush through dry curls, since that can create unnecessary frizz and disrupt the shape. A curl cream and gel combination can usually be found for about $15 to $35.
4. Half-Up Curly Hairstyle With a Claw Clip
A claw clip can give curly hair an easy half-up shape without requiring a complicated technique. The top section is gathered away from the face while the rest of the curls remain loose and full. This creates a nice balance between structure and softness. It is especially useful when you want your curls visible but still want some control around your forehead and eyes.
Separate the hair from temple to temple and gather the top section loosely at the back of your head. Twist it once and secure it with a medium or large claw clip that can hold your hair without squeezing it too tightly. Leave a few curls loose around your face. If your hair is thick, choose a strong clip with wide teeth instead of a small decorative clip. One mistake I see often is trying to force too much hair into a clip that is too small. That can cause pulling and make the style fall apart. Good claw clips generally cost around $8 to $25.
5. Shoulder-Length Curly Bob
A curly bob gives natural texture a strong shape while keeping the overall look fresh and manageable. The curls sit around the jaw and shoulders, creating fullness near the face without requiring extremely long hair. It can feel playful with tighter curls or sophisticated with softer waves. The key is getting the length right for your curl pattern because shrinkage can make a shoulder-length cut appear much shorter when dry.
Talk with your stylist about how much your curls shrink and how you normally wear your hair. A slightly longer wet cut may be needed if your curls spring upward significantly. At home, apply leave-in conditioner to damp hair, then add curl cream and gently scrunch. Use a diffuser if you want extra lift at the roots. I always recommend this when someone wants a noticeable change without starting over with their entire routine. Avoid thinning curly hair aggressively, since excessive thinning can sometimes create uneven texture. A professional curly cut may cost approximately $50 to $120.
6. Loose Curly Ponytail With Face-Framing Pieces
A loose ponytail keeps curls away from the neck while preserving plenty of texture around the face. Instead of pulling every strand tightly into place, this version leaves the curls soft and relaxed. A few face-framing pieces can soften the hairstyle and make it feel more casual. It is useful for errands, casual dinners, or days when you want something simple but still polished.
Gather your curls at the middle or lower back of your head and secure them with a fabric scrunchie. Avoid brushing the curls into a smooth ponytail. Use your fingers to gather the hair so the texture stays intact. Pull out two or three small curls near the temples and cheekbones. If your ends look dry, smooth a tiny amount of curl oil over them. A common mistake is making the ponytail too tight, especially when wearing it for several hours. A soft scrunchie and curl refresher can cost around $10 to $25.
7. Curly Shag With Lots of Movement
The curly shag is made for people who enjoy volume, movement, and a slightly undone finish. Shorter layers around the crown help curls spring upward, while longer pieces maintain enough length around the sides and back. The overall shape feels expressive without requiring every curl to sit in exactly the same place. It is a fun option if your current style feels heavy or flat.
Ask for layers that create movement without removing too much density. Bring photos of curly shags worn with a texture similar to yours so your stylist can understand how much volume you want. Style the cut with a lightweight mousse or curl cream rather than heavy butter products if your curls tend to lose volume. Dry the roots with a diffuser while gently lifting them with your fingers. In my experience, the biggest mistake here is asking for extremely short layers without discussing shrinkage first. A curly haircut can range from about $50 to $120 depending on the salon.
8. Defined Wash-and-Go Curls
A wash-and-go is a great option when you want your natural curl pattern to be the main feature. Instead of manipulating the hair into a specific shape, you enhance the curls you already have. The finished look can range from soft and fluffy to highly defined depending on your product choices and drying method.
Start with thoroughly wet hair so your curls have enough moisture to form their natural pattern. Apply leave-in conditioner first, followed by curl cream or gel. Work through sections with your fingers and scrunch upward. If some areas lose definition, gently coil individual curls around your finger. Allow the hair to air dry or use a diffuser on low heat. Do not touch your curls repeatedly while they are drying because that can increase frizz. If your hair is prone to dryness, focus conditioner on the mid-lengths and ends. A basic wash-and-go routine can cost around $15 to $40 in styling products.
9. Curly Hairstyles That Highlight Natural Texture With a Low Bun
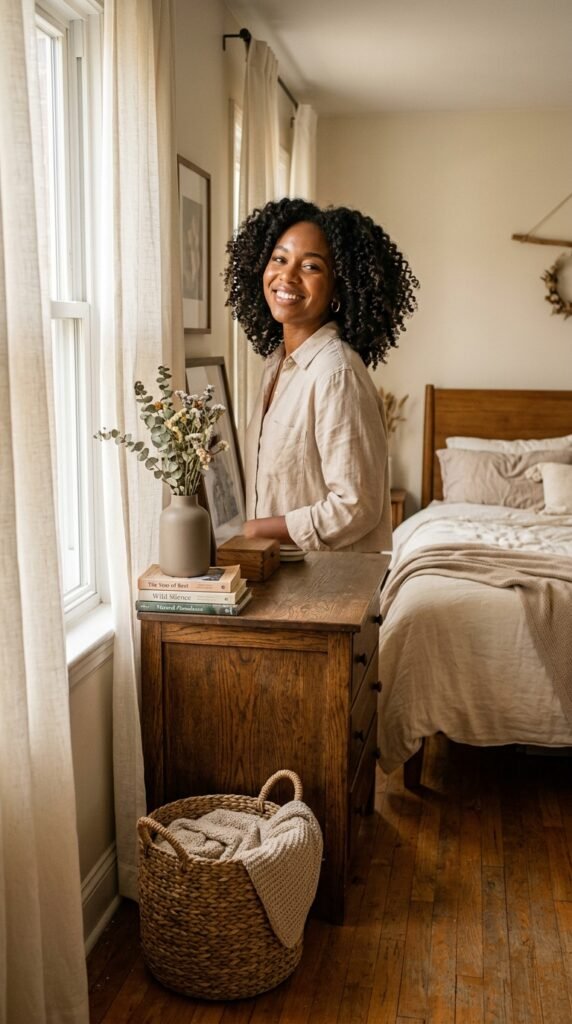
A low curly bun gives natural texture a more polished direction. Instead of hiding every curl, this style lets the natural pattern show around the bun and along the hairline. It works well for workdays, dinners, weddings, or any occasion when you want your curls controlled without making them look completely slicked down.
Gather your hair at the nape of your neck and twist it loosely into a bun. Use bobby pins to secure the shape rather than tightening the hair with several elastics. Leave a few curls around the face if you prefer a softer finish. For a smoother appearance, apply a small amount of gel to the sides with your fingertips. A lot of people skip this step, but gently smoothing only the outer layer gives the style a cleaner finish without flattening the entire head. Satin scrunchies, pins, and styling gel can cost around $10 to $30.
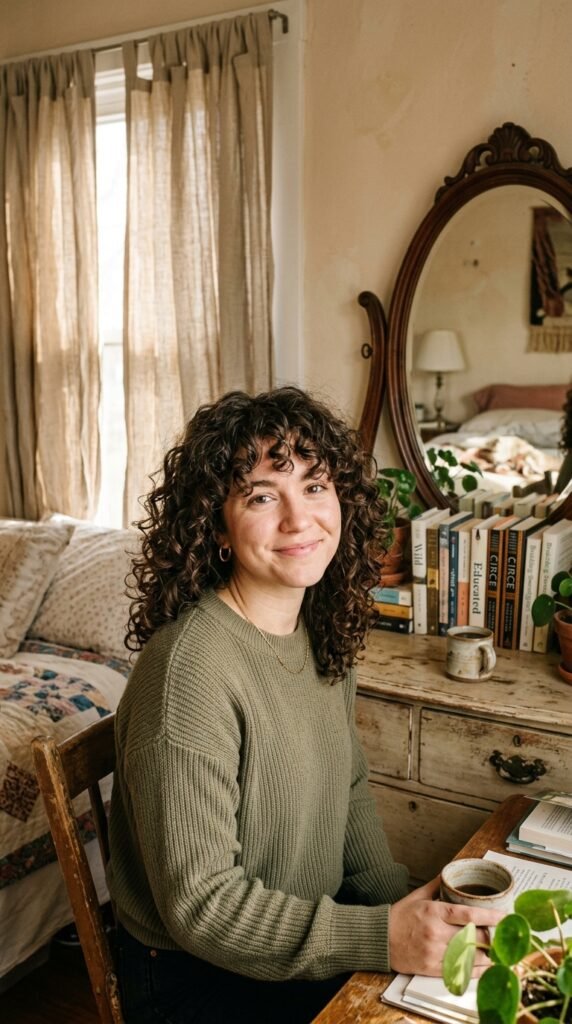
10. Curly Bangs With Soft Face Framing
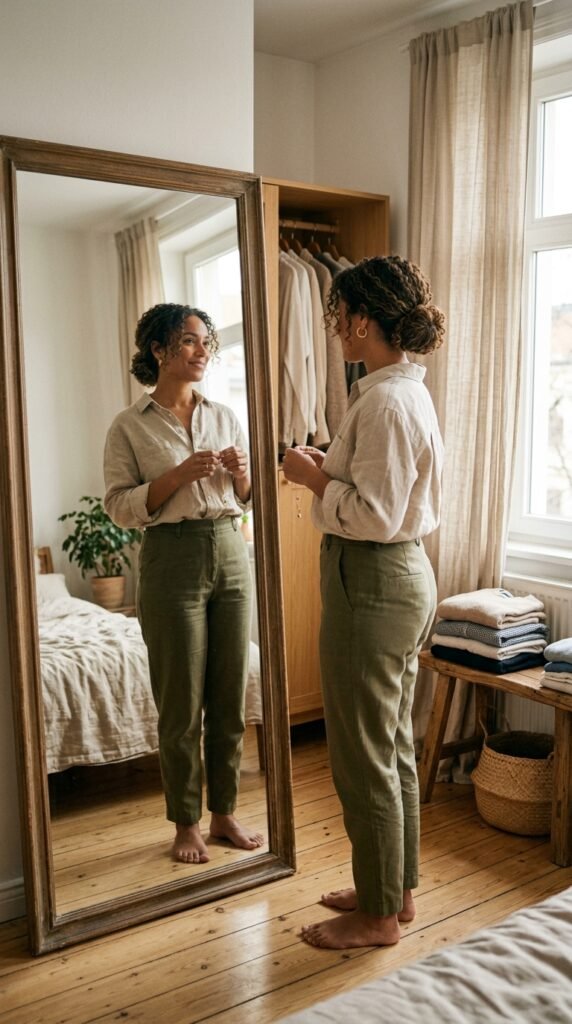
Curly bangs can completely change the way your natural texture frames your face. Instead of cutting straight across the forehead, curly bangs are shaped to work with the curl pattern. The result can be soft, playful, and full of movement. Short curls around the forehead also draw attention to the eyes and cheekbones.
If you are considering curly bangs for the first time, start slightly longer than you think you need. Curly hair can spring upward once dry, so cutting too much at once is difficult to reverse. Style your bangs while they are wet and use a small amount of curl cream to encourage definition. Let them dry naturally or diffuse gently. Avoid cutting your own bangs immediately after straightening your hair because the length can look very different once your curls return. A professional trim may cost about $30 to $70 depending on the salon.
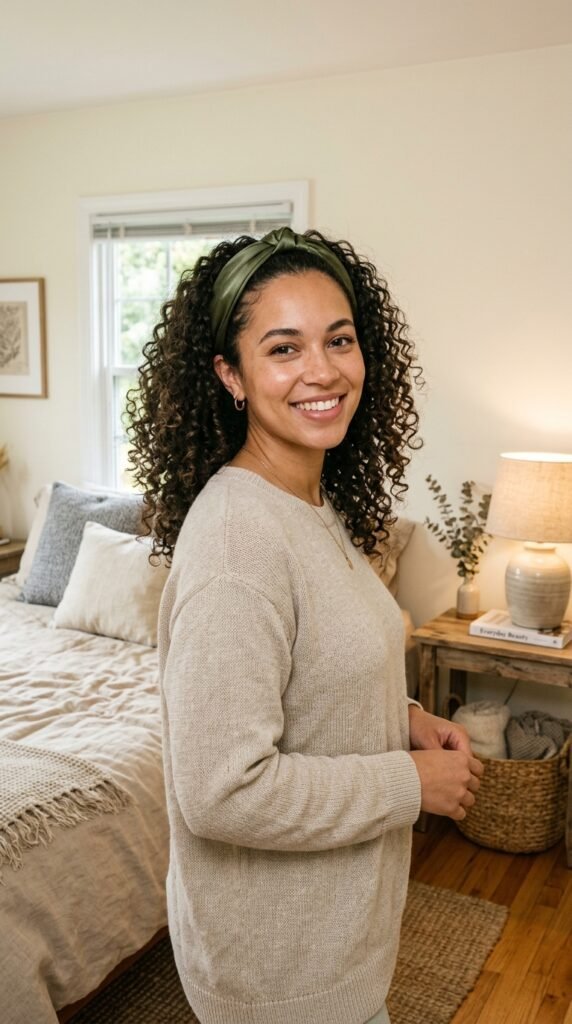
11. Curly Hair With a Satin Headband
A satin headband can change the shape of a curly hairstyle in seconds. It pushes the front section away from the face while allowing the rest of the curls to remain loose. The slight sheen of satin adds a refined detail without making the hairstyle feel formal. Neutral shades work well for everyday wear, while deeper colors can make the look feel more dressed up.
Choose a wide, comfortable headband that does not pinch behind your ears. Place it slightly behind the hairline so your curls can maintain some height at the front. If your curls have flattened overnight, mist them with water and scrunch before adding the headband. Avoid using a headband that is too tight, especially if you plan to wear it for several hours. Satin or satin-lined accessories can usually be found for around $8 to $20. What I personally love about this is how little effort it takes to make a familiar hairstyle look different.
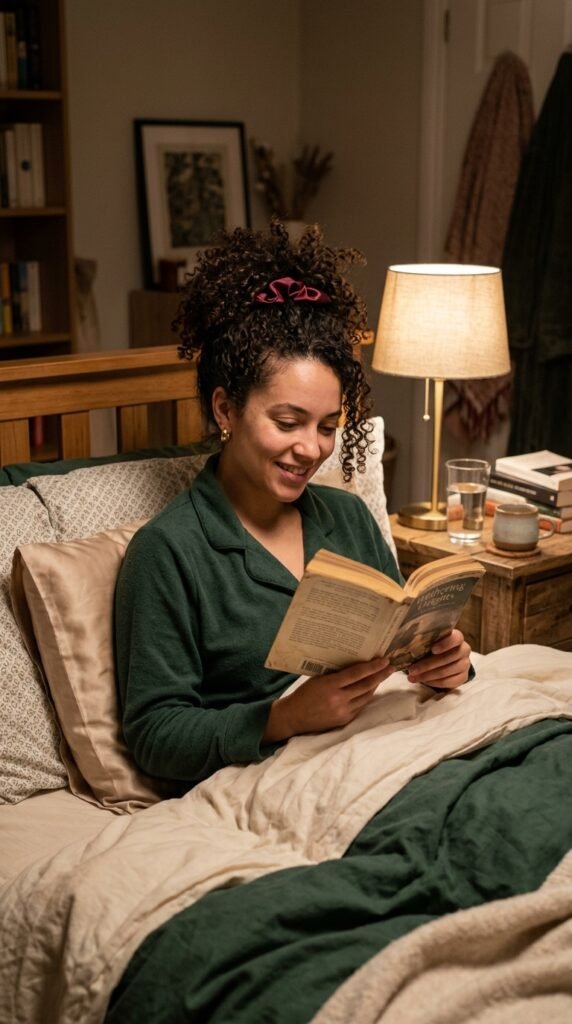
12. Pineapple Curls for an Easy Overnight Style
The pineapple method is less about a daytime hairstyle and more about preserving your curls for the next morning. Hair is gathered loosely at the top of the head so the curls are not crushed against the pillow. It can make refreshing second-day curls much easier, especially if your hair tends to lose definition overnight.
Before bed, gently gather your curls toward the top of your head without brushing them. Secure them with a loose satin scrunchie that will not leave a deep crease. A satin or silk pillowcase can provide another layer of protection against friction. In the morning, remove the scrunchie and shake the roots gently with your fingertips. Mist flattened sections with water and add a small amount of leave-in conditioner if needed. Do not pull the pineapple too tightly. The goal is to lift the curls, not create tension. A satin scrunchie and pillowcase can cost approximately $15 to $40.
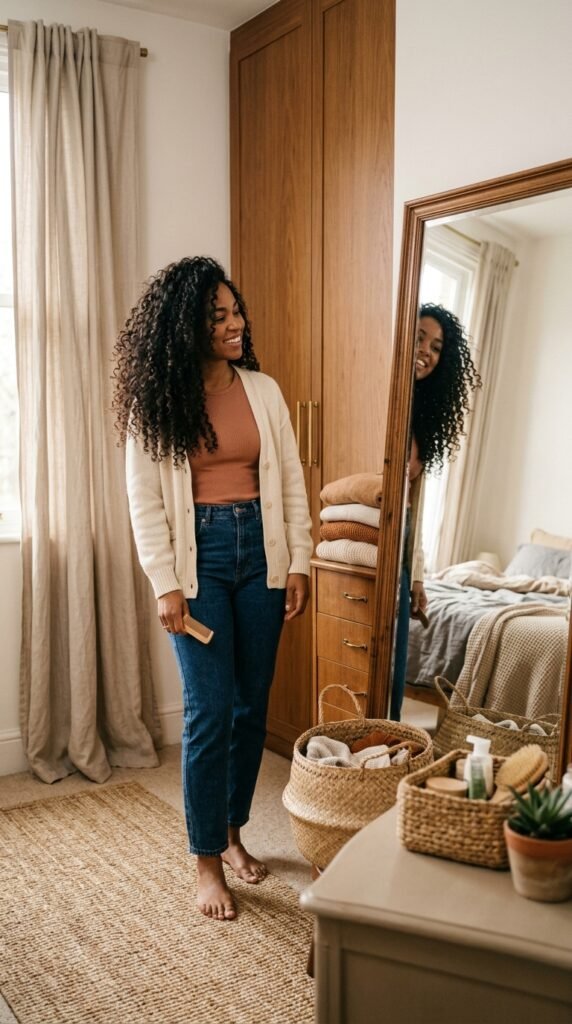
13. Long Curly Hair With Defined Ends
Long curls can look beautiful when the ends have enough definition to create a clear shape. This style keeps the length visible while using curl definition to prevent the hair from looking heavy or shapeless. Soft layers can add movement without taking away the dramatic effect of longer curls cascading down the back.
Apply leave-in conditioner to damp hair, then divide the hair into manageable sections. Use curl cream on the mid-lengths and gel mainly where you need stronger hold. Scrunch the ends upward and allow the hair to dry completely before separating the curls. If your ends feel dry, use a tiny amount of lightweight oil once the hair is finished. A common mistake is applying too much oil before styling, which can make curls look heavy and reduce volume. A basic product routine can cost about $20 to $45.
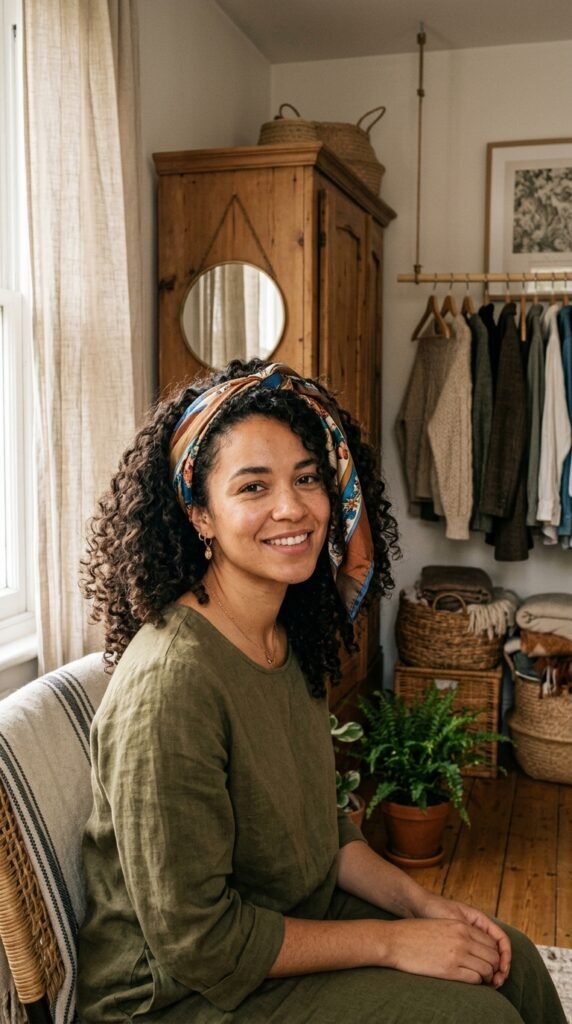
14. Curly Hair With a Loose Scarf Wrap
A lightweight scarf adds color and personality while keeping the front section of curly hair controlled. You can tie it around the crown, use it as a headband, or wrap it around a loose bun. The curls remain visible underneath, so the accessory becomes a small styling detail rather than the main focus.
Choose a lightweight satin or cotton scarf that will not snag your curls. Fold it into a narrow band and tie it loosely behind the head or above the crown. If you want more volume, avoid pressing the scarf tightly against the roots. This look is also useful for extending a wash day when your curls need a little help. I always recommend this when someone wants a change without starting over with their entire hairstyle. Scarves can cost anywhere from $10 to $35, with plenty of affordable options available.
15. Half-Up Curly Pony With Extra Crown Volume
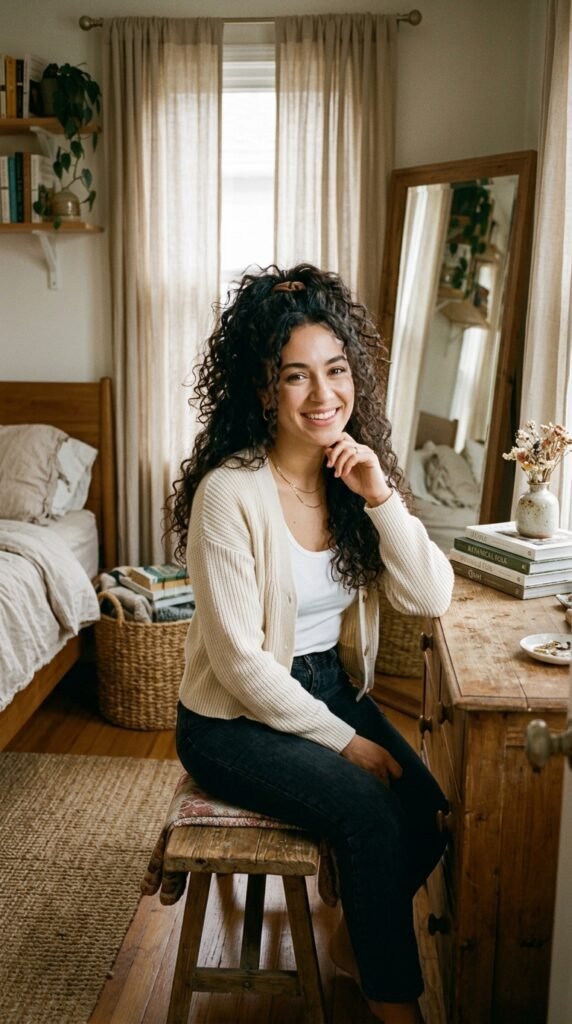
A half-up curly ponytail gives you the best of both worlds: the face feels open while the rest of the curls remain loose and full. Adding a little height at the crown makes the hairstyle feel more dimensional. This works particularly well with medium to long curls because there is enough length to create a noticeable contrast between the gathered section and the loose hair.
Use your fingers to separate the top third of your hair rather than brushing it flat. Gather that section at the crown and secure it with a soft scrunchie. Gently loosen the hair around the crown with your fingertips to create more height. Refresh the loose curls with a light mist of water if necessary. Avoid pulling the ponytail too tightly because the style should have movement. If your hair is very thick, a fabric-covered elastic with strong stretch can provide better support. You can create this look with about $10 to $30 in basic styling accessories and products.
How to Choose the Right Curly Hairstyle for Your Texture
The best hairstyle for your curls depends on more than length. Think about your curl pattern, density, shrinkage, and how much time you actually want to spend styling your hair. If you prefer low-maintenance mornings, a high puff, loose ponytail, pineapple routine, or wash-and-go may fit your routine better. If you enjoy styling your curls, a layered cut, curly shag, bangs, or defined long curls gives you more room to experiment.
Pay attention to what your hair does naturally. If your roots become flat easily, avoid heavy products near the scalp and look for layered shapes that encourage lift. If your ends dry out quickly, focus conditioner and leave-in products on the lower sections of your hair. You do not have to copy someone else’s curl routine just because their hair looks similar in a photo. Small differences in density and porosity can change how products behave.
Simple Ways to Keep Natural Curls Looking Fresh
Healthy-looking curls usually start with moisture and gentle handling. Use a cleanser that works for your scalp and follow with a conditioner that gives your curls enough slip to detangle without excessive pulling. A wide-tooth comb or your fingers can work well while the hair is wet.
Try not to brush your curls once they are dry unless you specifically want a fluffy, expanded texture. Instead, refresh them with a little water and a small amount of curl product. A microfiber towel or soft cotton T-shirt can also be gentler than rough towel drying.
At night, consider using a satin or silk pillowcase, bonnet, or loose pineapple style. You do not need an expensive collection of products. A gentle cleanser, conditioner, leave-in product, and one styling product are enough to build a simple routine.
Conclusion
Natural curls do not need to look the same every day. Some days call for a soft wash-and-go, while others are better suited to a high puff, loose ponytail, claw clip, or textured bun. The fun comes from finding styles that support your natural pattern instead of fighting against it.
These 15 curly hairstyles that highlight natural texture give you plenty of ways to change your look without relying on heat or complicated styling techniques. Start with one or two that fit your normal routine. If you are short on time, try the high puff or loose ponytail. If you want a bigger change, consider layers, a curly bob, or a shag. Accessories such as satin headbands and scarves can also make a familiar hairstyle feel new.
You do not need a huge budget to create beautiful, wearable hair. A few useful products, gentle techniques, and a little patience can go a long way. Your curls already have character. The right hairstyle simply gives that texture room to show.
Which of these curly hairstyles would you try first? I’d love to hear what you’re planning.
Frequently Asked Questions
What is the best hairstyle for showing natural curls?
Styles that allow your curls to remain loose and visible are usually great choices. A wash-and-go, layered cut, curly bob, or long defined curls can all showcase your natural pattern. The right option depends on your curl type, density, and preferred length.
How can I make my natural curls look more defined?
Start with wet or very damp hair and apply a moisturizing leave-in product before your main styling product. Scrunch the curls upward and avoid touching them while they dry. A diffuser on low heat can help speed up drying while maintaining definition.
Are layers good for curly hair?
Layers can work very well for curly hair because they remove excess weight and allow curls to move. The length and placement of the layers should be based on your curl pattern and shrinkage. Ask your stylist to consider how your hair looks when it is dry rather than relying only on its wet length.
How can I protect curly hair while sleeping?
A loose pineapple, satin bonnet, or satin pillowcase can help reduce friction and prevent curls from becoming overly flattened. Avoid tying the hair tightly before bed. In the morning, use a little water and leave-in conditioner to refresh areas that have lost their shape.
How often should curly hair be restyled?
There is no single schedule that works for everyone. Some people refresh their curls every few days, while others prefer to wash and restyle more often. Let your scalp, moisture level, and curl definition guide you instead of following a strict timetable.