What Are the Best Techniques for a Kitchen Cabinets Makeover? 20 Budget Friendly Ideas That Look Amazing
If you walk into your kitchen and immediately notice scratched cabinet doors, faded paint, or outdated hardware, you’re not alone. Cabinets take up a huge part of the room, so when they start looking worn, the whole kitchen can feel tired. The good news is that you don’t need to replace everything to enjoy a fresh new look. A few smart updates can completely change how your kitchen feels without stretching your budget.
If you’ve been wondering what are the best techniques for a kitchen cabinets makeover, you’ll find plenty of practical ideas here. Whether you’re planning a weekend DIY project or a gradual refresh over several months, there are simple ways to give old cabinets new life.
This guide shares creative makeover techniques that combine modern home decor trends with practical styling. You’ll learn how to paint, refinish, decorate, organize, and personalize your cabinets while avoiding common mistakes. Most of these ideas are affordable, beginner friendly, and easy to adapt to kitchens of every size.
1. Give Your Cabinets a Fresh Coat of Paint
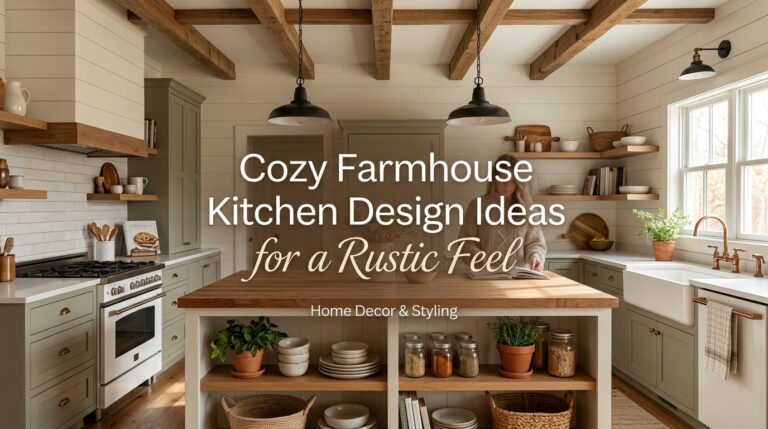
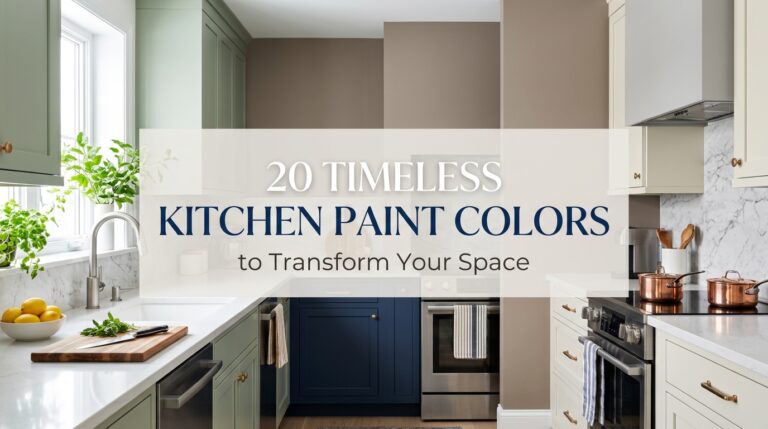
Nothing changes a kitchen faster than freshly painted cabinets. Smooth new paint covers years of wear while making the entire room feel brighter and cleaner. Whether you choose warm white, soft sage, navy blue, or charcoal, fresh paint creates a polished look that feels inviting every time you step into the kitchen. Add natural wood accessories and warm lighting, and the space immediately feels more welcoming.
Start by removing cabinet doors and cleaning every surface with a degreasing cleaner before sanding lightly. Use a high quality primer followed by durable cabinet paint for a long lasting finish. In my experience, the biggest mistake here is rushing the prep work. Careful cleaning and sanding make all the difference. Paint, primer, brushes, and rollers usually cost between $100 and $300, making this one of the most affordable cabinet updates.
2. What Are the Best Techniques for a Kitchen Cabinets Makeover? Replace the Hardware
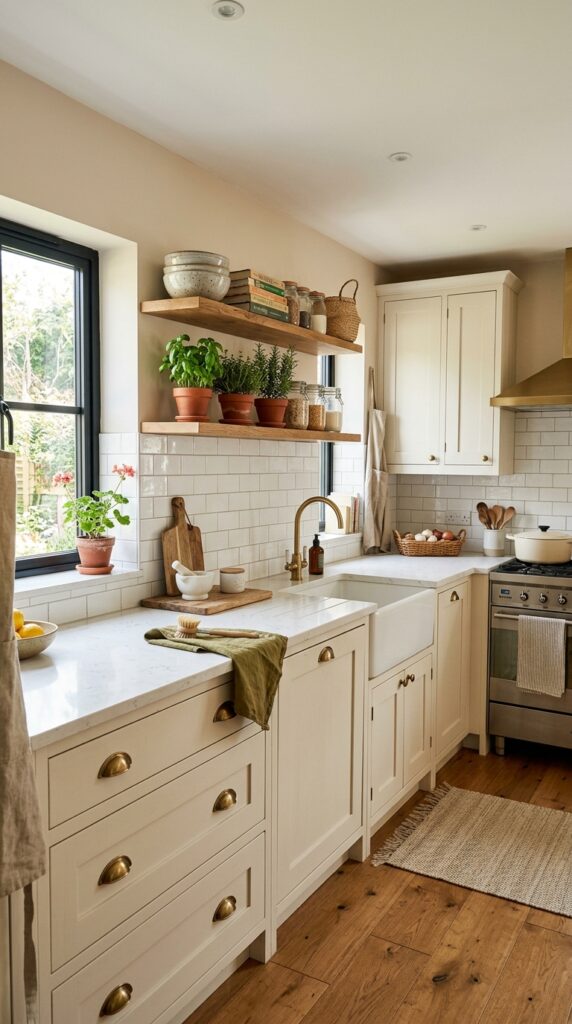
Sometimes cabinets don’t need new paint at all. Swapping outdated knobs and handles for modern hardware instantly refreshes the entire kitchen. Matte black pulls create a clean contemporary look, while brushed brass adds warmth and character. Even simple stainless steel hardware can make older cabinets feel much newer when paired with clean surfaces and uncluttered countertops.
Measure the existing hole spacing before buying replacement handles to avoid extra drilling. Keep the finish consistent throughout the kitchen for a more cohesive appearance. What I personally love about this project is that it can usually be finished in a single afternoon. Good quality cabinet hardware typically costs $5 to $15 per piece, making it one of the easiest budget friendly decor updates.
3. Add Open Shelving to Break Up Solid Cabinets
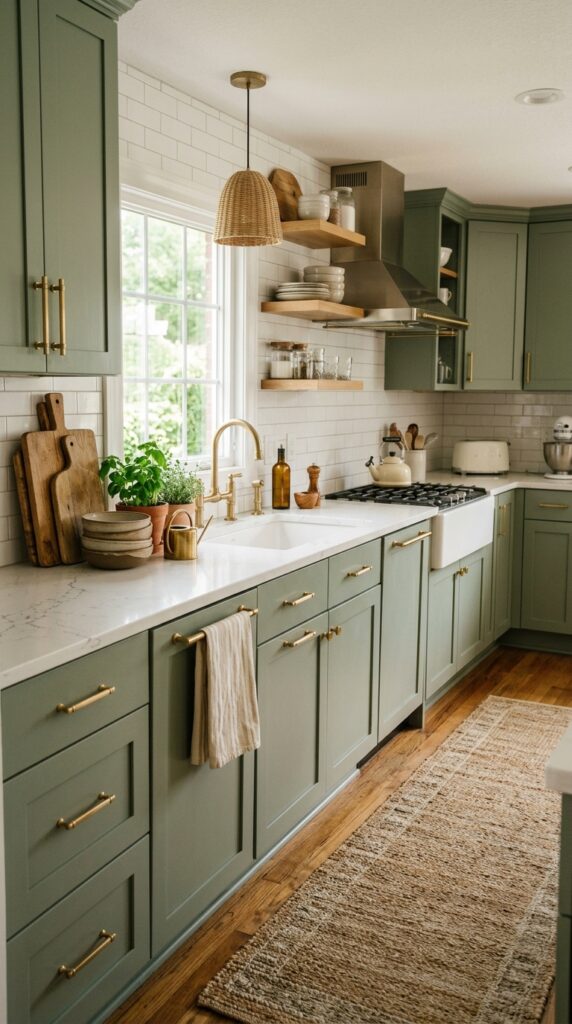
Replacing one or two upper cabinets with open shelves gives the kitchen a lighter and more spacious feel. Natural wood shelves create warmth while giving you a place to display everyday dishes, glass jars, cookbooks, and small plants. The room instantly feels more personal without becoming cluttered.
Install sturdy floating shelves into wall studs for proper support. Display only your favorite everyday items and leave a little empty space so the shelves feel balanced. A lot of people fill every inch with decor, but that often makes the kitchen look crowded. Floating shelves generally cost between $40 and $150 each, depending on the wood and size.
4. Install Under Cabinet Lighting for Instant Warmth
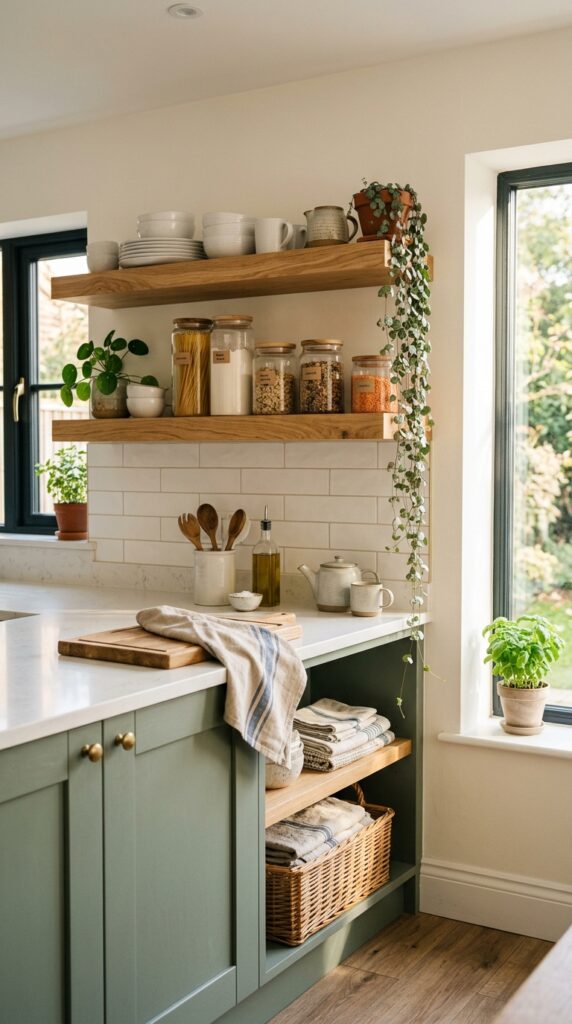
Lighting can completely change the appearance of older cabinets. Soft LED strips installed beneath upper cabinets brighten countertops while creating a warm glow that makes painted finishes and natural textures stand out beautifully. The kitchen feels more comfortable during the evening, and everyday tasks become much easier.
Choose warm white LED lights around 2700K to 3000K for a cozy atmosphere. Many peel and stick kits are easy to install without professional help. I always recommend hiding wires whenever possible for a cleaner finish. LED lighting kits usually range from $30 to $100, depending on length and features.
5. What Are the Best Techniques for a Kitchen Cabinets Makeover? Add Glass Cabinet Doors
Glass cabinet doors instantly make a kitchen feel brighter and more open. Instead of large blocks of solid cabinetry, glass introduces light reflections that create depth throughout the room. Displaying white dishes, glassware, and handmade pottery behind the doors adds personality while keeping everything organized.
Replace only a few cabinet fronts rather than every door for a balanced design. Interior cabinet lighting adds an extra layer of warmth during the evening. In my experience, many homeowners overfill glass cabinets, making them look messy. Keep displays simple and organized for the best result. Glass door inserts typically cost between $100 and $400 per cabinet door, depending on the style and material.
6. Refresh Cabinets with a Two Tone Paint Design
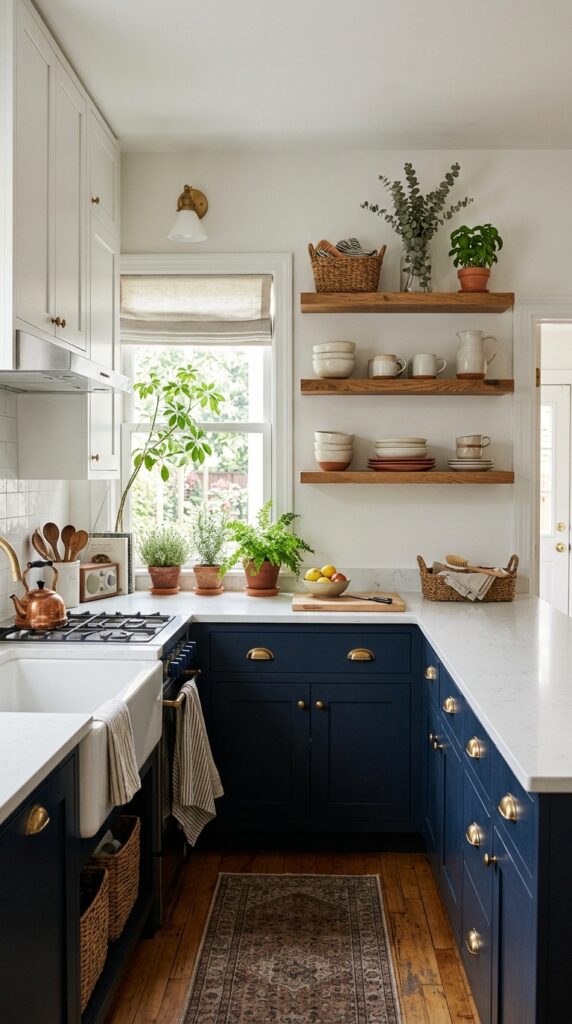
A two tone cabinet design adds depth without making the kitchen feel busy. Picture soft white upper cabinets paired with deep navy, sage green, or charcoal lower cabinets. The lighter color keeps the room bright, while the darker base hides everyday scuffs and gives the kitchen a grounded, modern feel. Natural wood accents, woven baskets, and warm lighting tie everything together, creating a space that feels fresh and welcoming.
Keep the lighter color on upper cabinets to reflect more light, especially in smaller kitchens. Choose durable cabinet paint with a satin or semi gloss finish for easy cleaning. What I personally love about this technique is that it lets you experiment with color without overwhelming the room. Most DIY two tone cabinet projects cost between $150 and $400, depending on paint quality and kitchen size.
7. Add Crown Molding for a Built In Look
One simple way to make standard cabinets look more expensive is by adding crown molding along the top. This small detail creates a custom appearance that draws the eye upward and makes the entire kitchen feel more finished. Painted to match the cabinets, the molding blends beautifully while giving the room extra character.
Measure carefully before cutting molding, and use painter’s caulk to fill small gaps for a smooth finish. Paint everything after installation so the molding looks like it has always been there. A lot of people skip this final paint step, but it makes all the difference. Crown molding materials usually cost between $50 and $250, depending on the size of your kitchen.
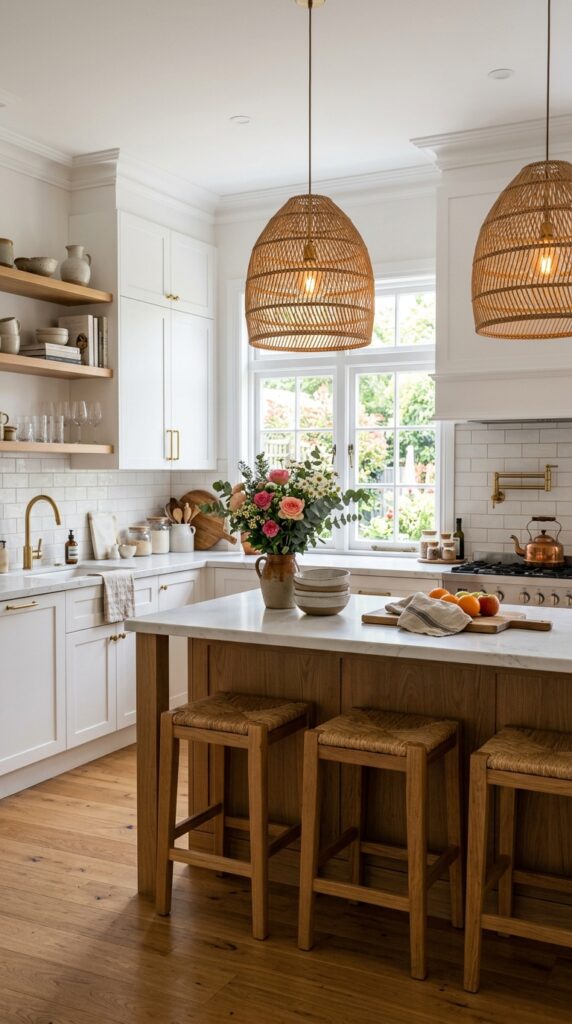
8. What Are the Best Techniques for a Kitchen Cabinets Makeover? Remove a Few Cabinet Doors
Removing several cabinet doors creates the appearance of open shelving without replacing the cabinets themselves. The exposed shelves make the kitchen feel lighter while giving you a chance to display favorite dishes, cookbooks, and decorative bowls. This simple update works especially well in smaller kitchens where solid cabinetry can feel heavy.
After removing the doors, fill unused hinge holes, sand lightly, and repaint the cabinet frames if needed. Style the shelves with neutral dishes, glass jars, and woven baskets instead of overcrowding them. I always recommend displaying items you actually use every week so the shelves stay practical. This makeover often costs between $20 and $80, making it one of the most affordable DIY projects.
9. Line Cabinet Interiors with Decorative Shelf Paper
Cabinet interiors deserve attention too. Opening a cabinet lined with soft patterned shelf paper adds an unexpected touch that makes everyday storage feel more enjoyable. Whether you choose subtle linen inspired prints, simple stripes, or neutral botanical patterns, the inside of your cabinets can feel just as welcoming as the outside.
Use removable adhesive shelf liner so it’s easy to replace in the future. Clean cabinet interiors thoroughly before applying the paper to prevent bubbles. In my experience, the biggest mistake here is choosing busy patterns that compete with the rest of the kitchen. Shelf liner typically costs between $10 and $40, making it a quick weekend refresh.
10. Organize Cabinets with Smart Storage Solutions
Sometimes the best cabinet makeover isn’t about changing how cabinets look but improving how they work. Well organized cabinets make cooking feel easier and help your kitchen stay tidy every day. Pull out organizers, lazy Susans, shelf risers, drawer dividers, and labeled containers create a clean, functional space where everything has its place.
Start with the cabinets you use most often. Group similar items together and remove anything you no longer need. A lot of people skip decluttering before buying organizers, but reducing unnecessary items gives you much better results. Basic storage organizers generally cost between $15 and $100, depending on the products you choose.
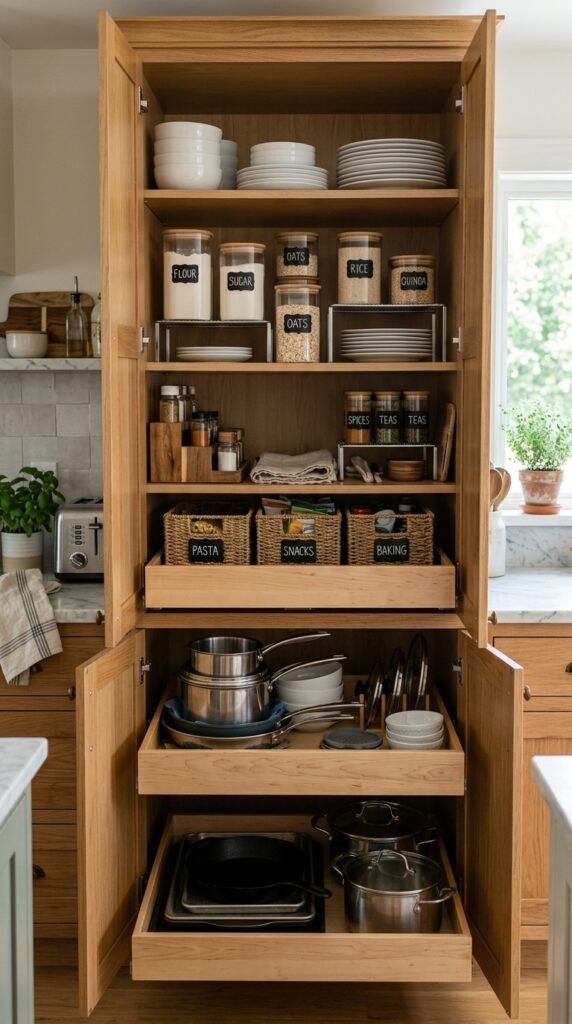
11. Update Cabinets with Peel and Stick Wood Veneer
If your cabinet boxes are still in good shape but the finish looks tired, peel and stick wood veneer can give them a completely different look. Warm oak, walnut, or ash grain instantly adds natural texture that makes the kitchen feel brighter and more welcoming. Combined with white countertops and soft lighting, the wood finish creates a cozy atmosphere without the cost of replacing cabinetry.
Apply veneer to clean, smooth cabinet doors and trim the edges carefully with a sharp utility knife. Work slowly to avoid bubbles and press firmly with a smoothing tool as you go. What I personally love about this technique is that it creates the look of real wood without a major renovation. Quality wood veneer usually costs between $50 and $200, depending on how many cabinet doors you’re covering.
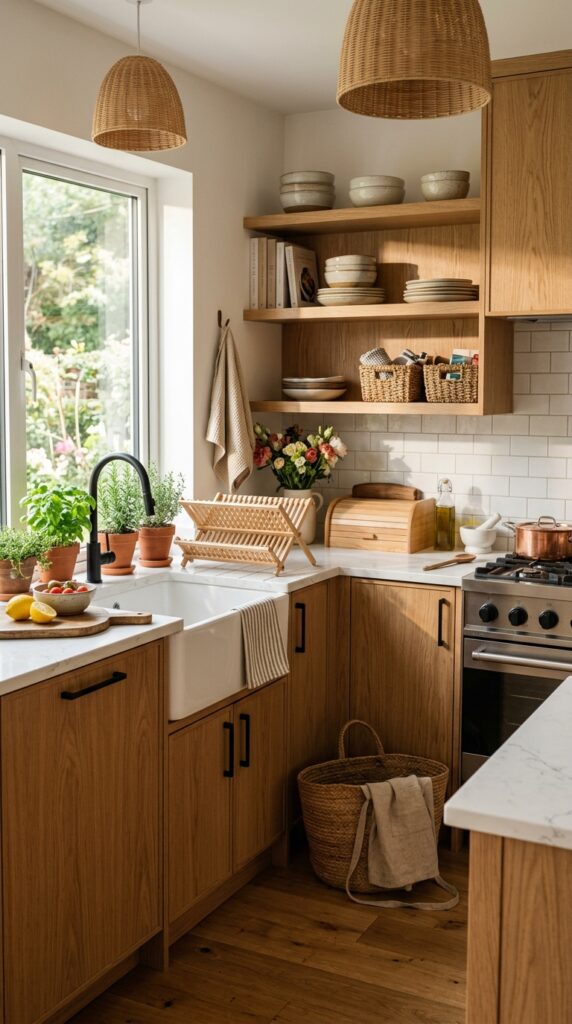
12. Create a Furniture Style Island with Matching Cabinet Paint
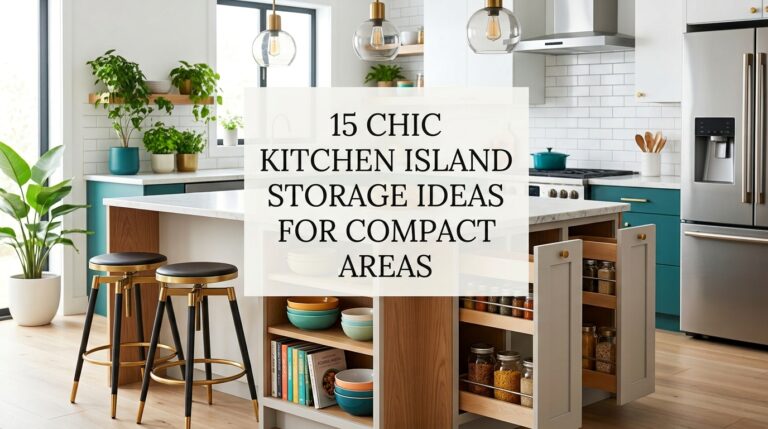
A kitchen island can become the focal point of the room with a little creativity. Painting the island a different color from the surrounding cabinets gives it a custom furniture inspired appearance. Picture deep navy, forest green, or charcoal paired with warm white perimeter cabinets, wooden stools, and soft pendant lighting. The contrast adds personality while keeping the kitchen balanced.
Choose a durable enamel cabinet paint that resists scratches and stains. Finish the island with decorative end panels or updated hardware for extra character. In my experience, the biggest mistake here is choosing a color that’s too bright for the rest of the kitchen. A painted island makeover usually costs between $80 and $250.
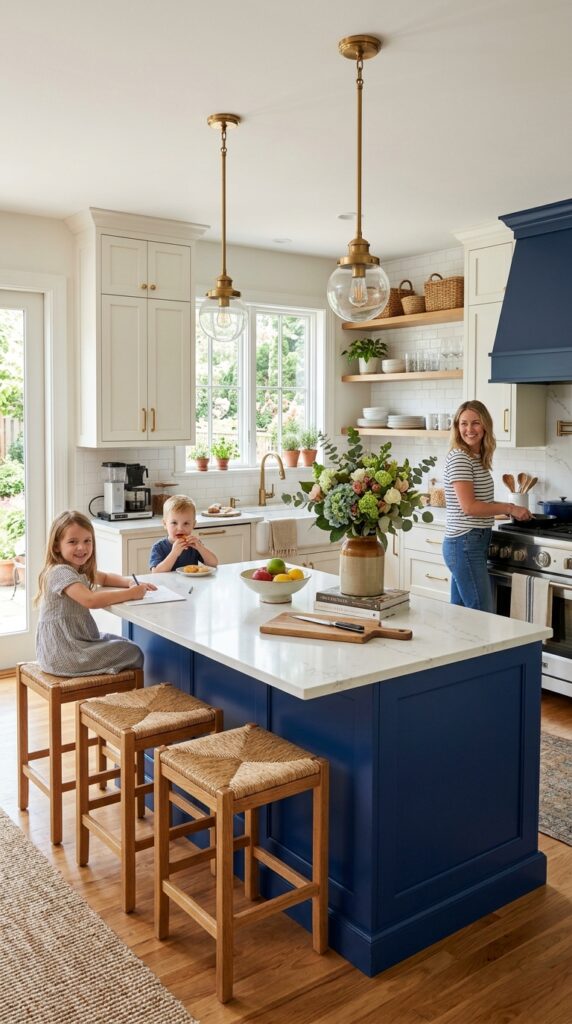
13. What Are the Best Techniques for a Kitchen Cabinets Makeover? Add Decorative Trim
Flat cabinet doors can look much more custom with simple decorative trim. Thin molding creates the appearance of shaker style cabinetry without replacing the doors. Once painted, the trim blends into the cabinet surface and gives the kitchen a timeless, handcrafted feel. Soft lighting highlights the new details, making older cabinets look surprisingly fresh.
Measure each door carefully before cutting trim pieces. Attach them with wood glue and finishing nails, then fill seams before painting. A lot of people skip sanding between coats, but that extra step creates a much smoother finish. Decorative trim materials generally cost between $30 and $120, making this an affordable DIY cabinet makeover.
14. Replace Solid Panels with Cane Webbing
Natural cane webbing brings warmth and texture that instantly softens painted cabinets. The woven pattern adds subtle detail while keeping the kitchen feeling light and airy. Paired with natural wood accents, white countertops, and linen textiles, cane inserts create a relaxed style that works beautifully in modern, coastal, and Scandinavian inspired homes.
Remove the center panel from selected cabinet doors and staple cane webbing securely behind the frame. Seal the cane with a clear protective finish if it’s close to the sink or stove. I always recommend using cane on only a few cabinets so it becomes a feature rather than overwhelming the room. Materials typically cost between $40 and $150.
15. Refresh the Inside of Cabinets with Better Lighting
Cabinet interiors often feel dark, making it harder to find everyday items. Small battery powered LED lights brighten shelves, making dishes, pantry staples, and cookware easy to see. The soft glow also gives your cabinets a cleaner, more finished appearance every time you open a door.
Install motion sensor lights that turn on automatically when cabinets open. Choose warm white lighting to match the rest of your kitchen and replace batteries as needed. What I personally love about this upgrade is that it’s simple to install but makes daily cooking much more convenient. Motion activated cabinet lights usually cost between $20 and $60 for a set.
16. Frame Your Cabinets with a Stylish Backsplash
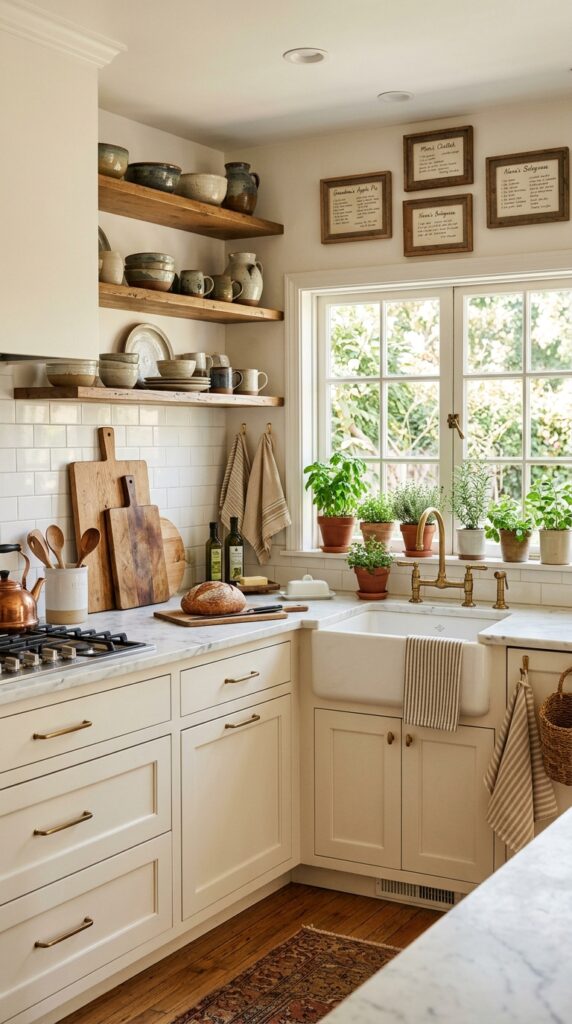
A cabinet makeover isn’t only about the cabinets themselves. A fresh backsplash can completely change how they look. White subway tiles, handmade zellige tiles, or soft marble inspired porcelain create a clean backdrop that makes painted cabinets stand out. Natural light reflects across the glossy surface, making the kitchen feel brighter and more inviting while highlighting your cabinet color.
Choose a backsplash that complements your cabinet finish rather than competing with it. Extend the tile to the underside of the upper cabinets or even to the ceiling behind the range for a more finished appearance. In my experience, the biggest mistake here is selecting an overly busy pattern that distracts from the cabinetry. Most backsplash projects cost between $150 and $800, depending on the material and installation.
17. Replace Old Hinges with Soft Close Hardware
No matter how beautiful your cabinets look, loud slamming doors can make the kitchen feel dated. Soft close hinges create a quieter, smoother experience every time you open or close a cabinet. It’s a small update that makes the entire kitchen feel newer and more comfortable to use.
Check whether your current cabinets accept replacement hinges before purchasing. Most modern soft close hinges install with basic tools and only take a few minutes per door. A lot of people focus on visible upgrades and overlook functionality, but this simple improvement makes everyday life much more enjoyable. Quality soft close hinges generally cost between $4 and $12 per hinge, with complete kitchen upgrades often totaling $80 to $250.
18. What Are the Best Techniques for a Kitchen Cabinets Makeover? Mix Paint with Natural Wood
One of the most popular modern cabinet makeovers combines painted cabinets with natural wood elements. Warm oak shelves, walnut cabinet doors, or a wooden island soften painted surfaces and make the kitchen feel balanced. The mix of smooth paint and visible wood grain creates warmth that works in modern, farmhouse, and Scandinavian inspired homes.
Paint most cabinets in a neutral shade like warm white, greige, or sage green, then introduce wood on open shelving or the island. I always recommend keeping the wood tones consistent throughout the room for a cohesive appearance. This type of makeover usually costs between $200 and $1,000, depending on how much wood is added.
19. Finish the Look with Organized Cabinet Styling
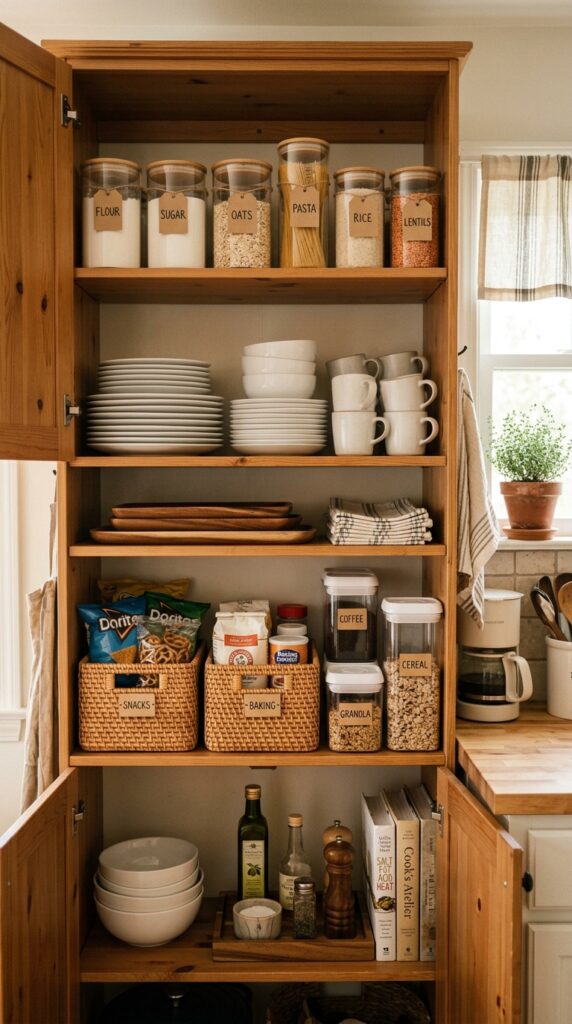
Once the makeover is complete, thoughtful organization helps your cabinets look their best every day. Neatly stacked dishes, labeled glass jars, woven baskets, and wooden trays create a clean appearance that feels both practical and welcoming. Opening a cabinet should feel calm rather than chaotic.
Store frequently used items at eye level and group similar products together. Replace mismatched food packaging with clear pantry containers for a tidier look. What I personally love about this step is that it costs very little but makes the kitchen feel completely refreshed. Organizers, labels, and glass jars usually cost between $30 and $150, depending on how much storage you need.
20. Personalize Your Cabinet Makeover with Meaningful Decor
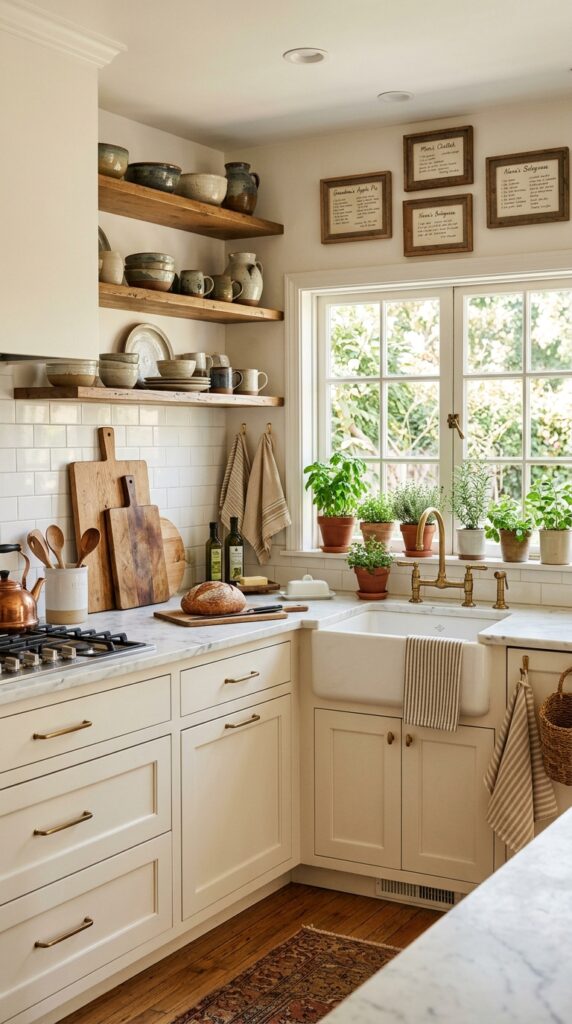
The final touch is adding personality. A beautiful cabinet makeover feels even more welcoming when it’s surrounded by decor that reflects your style. Handmade pottery, family cookbooks, vintage cutting boards, framed recipes, fresh herbs, and simple artwork turn a newly updated kitchen into a space that feels lived in and loved.
Choose just a few decorative pieces and let them complement your cabinets rather than covering every surface. Rotate seasonal decor throughout the year to keep the kitchen feeling fresh without spending much money. A lot of people think they need expensive accessories, but meaningful pieces often have the greatest impact. Decorative accents can cost anywhere from $20 to $200, depending on your style and budget.
Conclusion
A cabinet makeover doesn’t have to involve tearing out your entire kitchen or spending thousands of dollars. Small improvements made with care often create the biggest difference. Fresh paint, updated hardware, decorative trim, better lighting, and smart organization can completely change how your kitchen looks and feels.
If you’ve been asking what are the best techniques for a kitchen cabinets makeover, the answer is to choose updates that match your budget, your home’s style, and the way you use your kitchen every day. Even one weekend project can breathe new life into older cabinets and make the room feel brighter, warmer, and more functional.
Start with one or two ideas that excite you most. As your budget allows, build on those changes over time. The result will feel personal, practical, and welcoming without the cost of a full renovation.
Which cabinet makeover idea would you try first? I’d love to hear what you’re planning for your kitchen.
FAQ
What is the cheapest way to give kitchen cabinets a makeover?
Painting cabinets and replacing old hardware are two of the most affordable options. Together, these updates can dramatically change the appearance of your kitchen without replacing the cabinets. Adding peel and stick shelf liner or under cabinet lighting is another budget friendly improvement.
Can I paint kitchen cabinets without replacing them?
Yes. If your cabinet boxes and doors are structurally sound, painting is an excellent way to refresh their appearance. Proper cleaning, sanding, and priming are the keys to getting a durable finish that lasts.
How long does a DIY cabinet makeover usually take?
Most painting projects take three to seven days, depending on drying time and the number of cabinets. Smaller updates like replacing hardware or installing lighting can often be completed in a single afternoon.
Which cabinet colors stay in style the longest?
Warm white, soft greige, sage green, navy blue, charcoal, and natural wood finishes remain popular because they’re versatile and easy to decorate around. These colors also pair well with changing home decor trends.
Is replacing cabinet hardware worth it?
Absolutely. New handles and knobs are one of the quickest ways to refresh older cabinets. It’s an affordable project that can make the entire kitchen feel newer with very little effort.