15 Minimalist Nail Designs That Look Clean and Chic
Choosing a nail design can feel harder than it should. You may save dozens of bold looks, then realize they do not fit your usual style, your workplace, or the time you have for upkeep. Some designs also look beautiful in photos but feel too busy once they are on every nail.
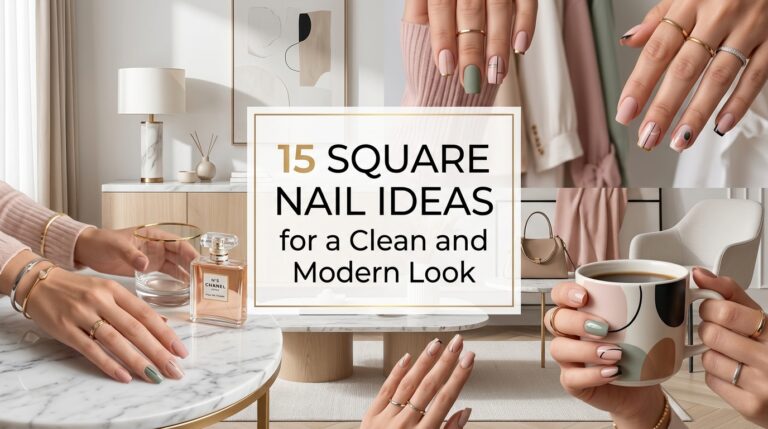
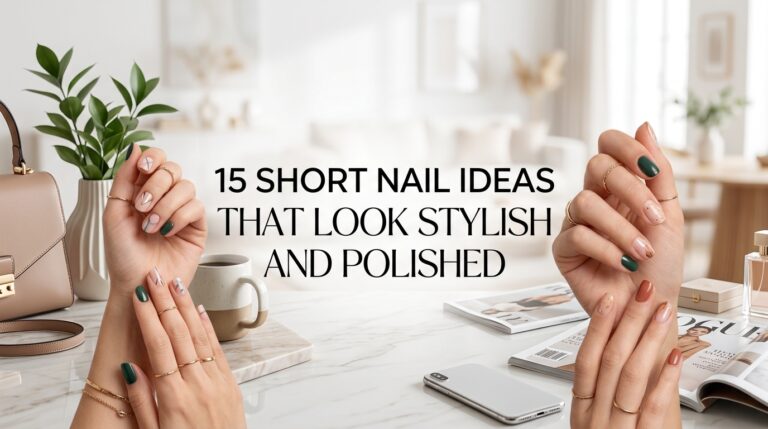
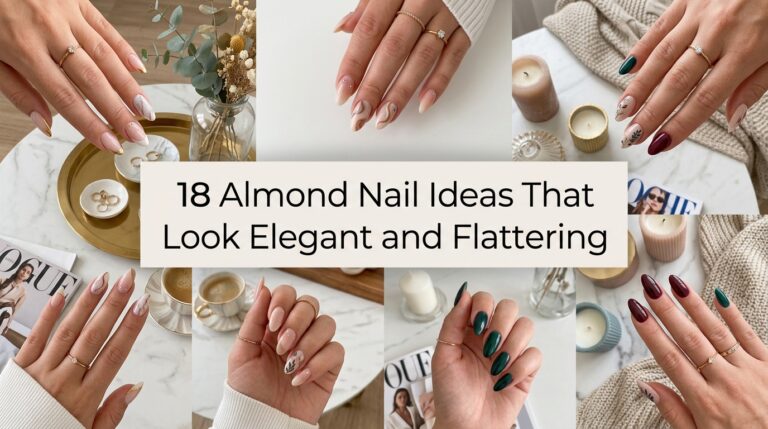
These minimalist nail designs that look clean and chic give you a simpler way to enjoy polished nails without heavy detail. They use soft neutrals, fine lines, tiny accents, sheer finishes, and balanced shapes. The result feels fresh and wearable, whether you prefer short natural nails, almond tips, or a neat square shape.
You will find subtle ideas for everyday outfits, workdays, weddings, weekends, and special occasions. Each design includes practical color suggestions, application tips, cost estimates, and mistakes to avoid. You can recreate many of them at home with basic tools, while the more detailed options are easy to explain at a salon. Start with the design that matches your usual wardrobe and nail length.
1. Sheer Pink Nails with a Glossy Finish
Sheer pink nails have a fresh, healthy look that works with almost every outfit. The soft color lets your natural nail show through while smoothing uneven tones. A high-gloss top coat catches the light and gives short nails a clean, polished finish without extra decoration.
Choose a translucent pink, milky rose, or pale blush polish. Apply one coat for a natural look or two thin coats for slightly more coverage. Finish with a glossy top coat and clean the edges with a small brush dipped in remover. An at-home manicure may cost $10 to $25, while a salon service often ranges from $25 to $55. In my experience, the biggest mistake here is applying thick layers to hide streaks. Thin coats dry more evenly and keep the finish delicate. This style looks especially good on short round, oval, or softly squared nails.
2. Micro French Tips for Minimalist Nail Designs
Micro French tips keep the classic French manicure but make the white edge much finer. The thin line gives the nails definition without creating a strong contrast. It feels neat, modern, and especially flattering on short nails where a thick tip can make the nail plate look smaller.
Start with a sheer nude or pale pink base. Use a fine nail art brush to paint a narrow white line across the free edge. Nail stickers can help if your hand is not steady. A DIY kit usually costs $12 to $30, while salon prices may range from $35 to $70. What I personally love about this is how it works with casual denim, office outfits, and formal dresses. Avoid making every line too thick while trying to correct small uneven areas. A tiny variation between nails is less noticeable than a heavy white band.
3. Tiny Black Dots on a Nude Base
A single black dot near the cuticle adds just enough detail to make nude nails feel more interesting. The contrast looks crisp against beige, blush, or sheer cream polish. From a distance, the manicure still appears simple, but the tiny detail gives it a playful finish.
Apply your nude base and allow it to dry fully. Use a dotting tool, toothpick, or the rounded end of a hairpin to place one small dot on each nail. You can position it in the center or slightly to one side. The supplies usually cost $8 to $20, while a salon version may cost $30 to $60. A lot of people skip testing the dot size first, but it makes all the difference. Practice on foil before touching the nail. Keep the dots small and consistent. Oversized dots can shift the design from subtle to bold very quickly.
4. Soft Beige Nails in Two Tones
Two closely related beige shades create gentle contrast without making the manicure feel busy. One hand might feature warm sand and soft cream, or each nail can alternate between taupe and pale almond. The finish feels calm and works beautifully with neutral clothing, linen, soft denim, and gold accessories.
Choose two polishes that sit next to each other in tone. One should be slightly deeper or warmer than the other. Alternate them across the nails or use the darker shade on only two accent nails. A pair of polishes may cost $16 to $30, while a salon manicure can range from $30 to $60. I always recommend this when someone wants a change without starting over because it still feels close to a classic nude manicure. Avoid choosing two shades with very different undertones, such as cool gray and yellow beige, unless you want stronger contrast.
5. Thin Vertical Lines for a Longer Look
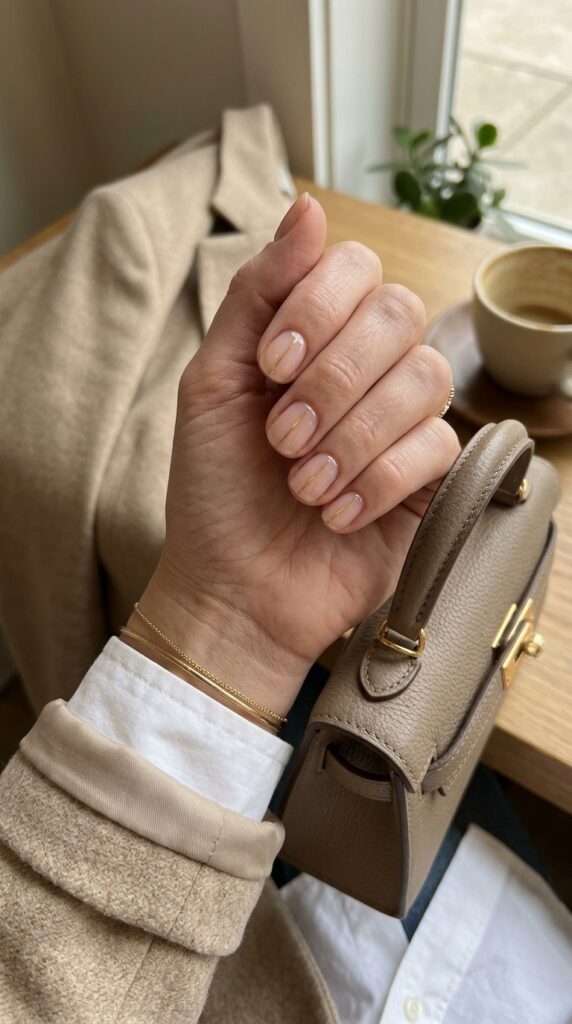
A fine vertical line can make short nails appear longer and more refined. The narrow detail draws the eye from the cuticle toward the tip. Black, white, gold, or muted brown lines all work well over a sheer nude base.
Paint the base color first, then use a long fine brush to draw one line down the center of each nail. You can also add the line to only two or three nails for a quieter result. Striping tape costs around $5 to $12, while a small nail art brush and polish may bring the total to $15 to $30. At a salon, expect about $35 to $70. The common mistake is starting with too much polish on the brush. Wipe most of it away first so the line stays thin. Finish with a clear top coat to smooth the surface.
6. Minimalist Nail Designs with Fine Gold Accents
A tiny touch of gold adds warmth without making the nails feel flashy. Fine metallic lines, one small foil fleck, or a narrow gold curve can look beautiful against cream, blush, or transparent polish. The reflection catches the light gently and pairs well with simple jewelry.
Use metallic striping tape, gold foil, or a fine art brush with gold polish. Keep the detail on one or two nails per hand if you want the design to stay understated. A DIY setup costs around $10 to $25, while salon nail art may range from $40 to $80. What I personally love about this is how easily it works for weddings, dinners, and everyday outfits. Avoid placing thick gold pieces near the free edge, where they may lift sooner. Seal every accent with two thin layers of top coat.
7. Matte Taupe Nails with One Glossy Accent
Matte taupe nails feel soft, modern, and slightly unexpected. The muted finish removes shine, allowing the shape and color to stand out. One glossy accent nail adds quiet contrast without introducing another color or pattern.
Apply two thin coats of taupe, mushroom, or soft gray-brown polish. Cover most nails with a matte top coat, then use a glossy top coat on one nail per hand. A DIY manicure usually costs $15 to $30, while a salon version may cost $30 to $65. In my experience, the biggest mistake here is applying matte top coat over uneven polish. Matte finishes show ridges and brush marks more clearly than glossy ones. Smooth the base first and moisturize the cuticles after everything dries. Avoid applying hand cream directly before painting because it can affect polish adhesion.
8. Half-Moon Nails in Soft Neutral Colors
A half-moon design leaves a small curved space near the cuticle bare or paints it in a second neutral shade. The shape follows the natural nail and gives the manicure a soft graphic detail. Cream and nude, blush and white, or taupe and clear all work well.
Use curved nail guides near the cuticle, then paint above them with your chosen shade. Remove the guide while the polish is still slightly wet for a cleaner edge. Supplies may cost $10 to $25, while salon prices often range from $35 to $70. A lot of people place the guide too high, which makes the painted section look short and heavy. Keep the half-moon small and close to the natural curve. This design is especially useful if you want growth to look less obvious after a week or two.
9. Milky White Nails for a Clean Finish
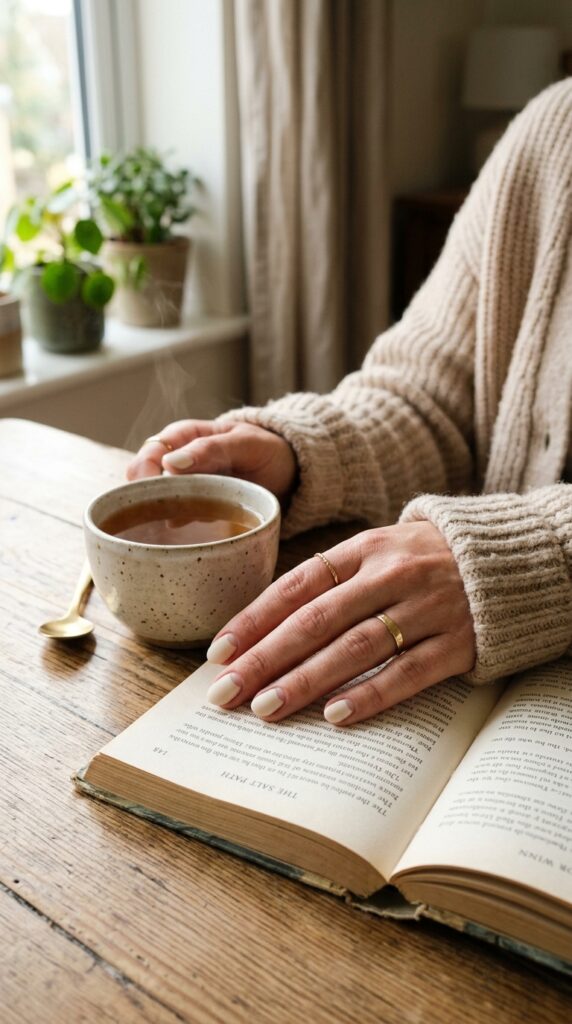
Milky white polish creates a soft veil over the nails rather than a solid bright white block. The finish looks fresh and smooth, with just enough transparency to keep it natural. It works on short or long nails and looks especially clean with simple silver or gold jewelry.
Choose a sheer white or mix one drop of white polish into a clear base coat. Apply two thin layers and finish with gloss. A bottle may cost $8 to $18, while a salon manicure often costs $25 to $60. I always recommend this shade when someone wants a clean look that still feels softer than stark white. Avoid using thick opaque polish if you want the milky effect. Thick coats can look chalky and may show streaks. Keep cuticles moisturized because pale polish can make dry skin more noticeable.
10. One Tiny Heart on an Accent Nail
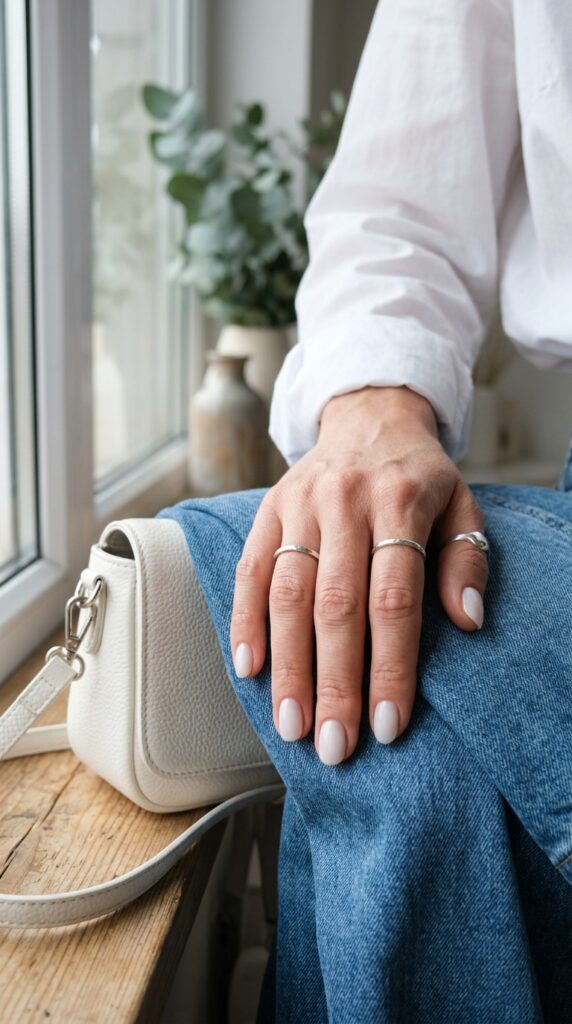
A tiny heart adds a sweet detail while keeping the overall manicure simple. Place it near the cuticle, at the tip, or slightly off-center on one accent nail. Black, red, white, or gold can all work against a sheer nude background.
Use a dotting tool to place two small dots side by side, then pull them downward with a fine brush to form the point. Keep the rest of the nails plain. A DIY manicure may cost $10 to $22, while a salon design usually ranges from $30 to $65. What I personally love about this is that it feels playful without covering every nail in art. Practice the heart on foil before painting your nail. Avoid making it too large, especially on short nails, because the design can lose its delicate look.
11. Soft Brown French Tips
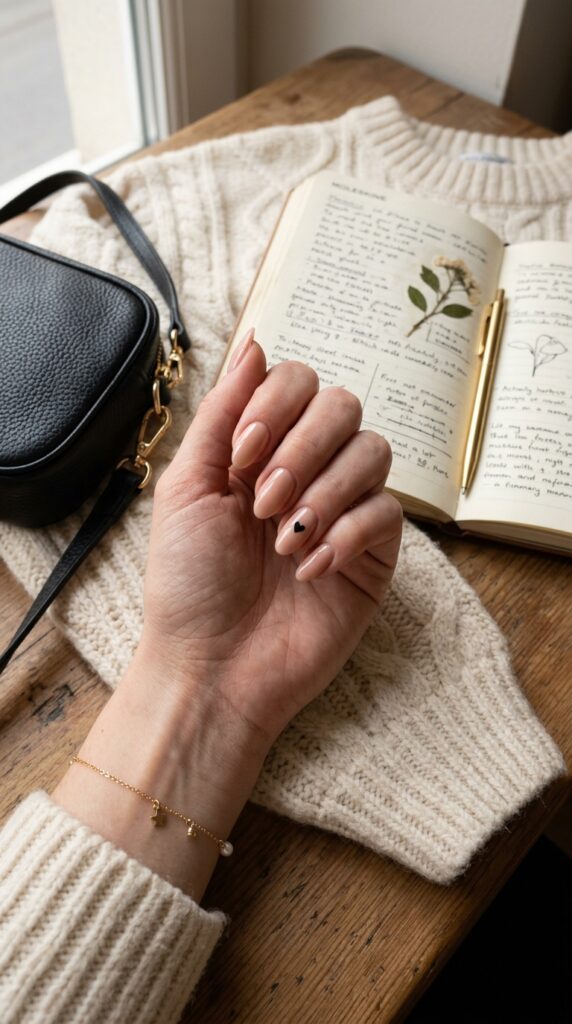
Soft brown tips offer a warmer version of the classic French manicure. Chocolate, caramel, mocha, or muted cocoa lines look refined against a clear or beige base. The combination feels especially suited to fall outfits, neutral wardrobes, and warm gold jewelry.
Choose a brown shade that complements your skin tone. Use caramel for gentle contrast or deep espresso for a sharper outline. Paint a thin curved tip with a fine brush or French guide. At-home supplies usually cost $12 to $28, while salon prices can range from $35 to $75. In my experience, the biggest mistake here is choosing an opaque base that hides the contrast between the nail and tip. A sheer nude keeps the finish lighter. Match the width of the brown line to your nail length so short nails do not feel visually shortened.
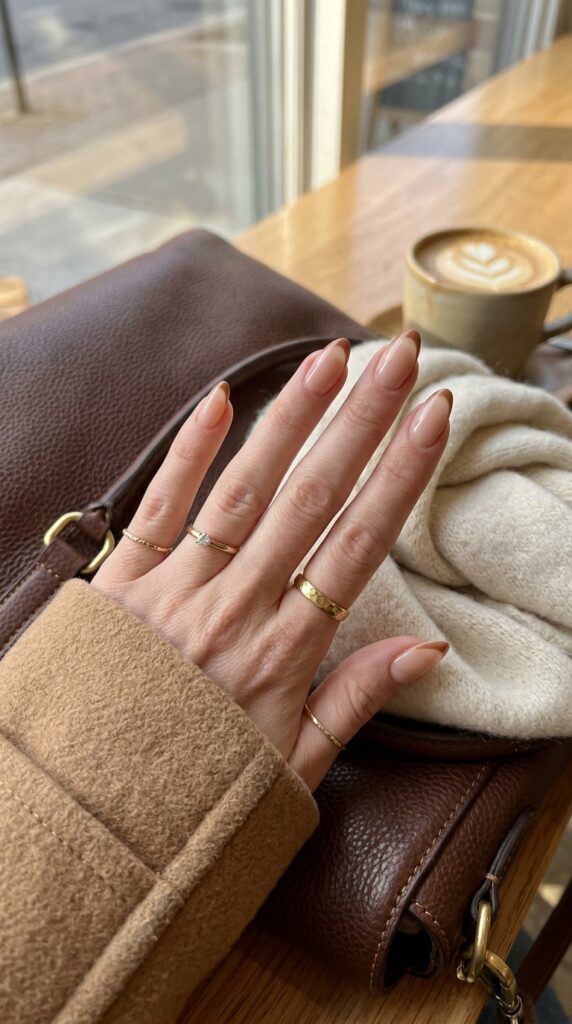
12. Minimalist Nail Designs with Tiny Flowers
Small flowers can still look minimal when they are used sparingly. A single white daisy, a tiny blue bloom, or one soft green stem on two accent nails adds a delicate seasonal detail. The rest of the manicure stays clear, nude, or milky pink.
Use a dotting tool for petals and a fine brush for stems. Place the art near one corner instead of centering a large flower on the nail. A DIY nail art set may cost $10 to $25, while salon pricing often ranges from $40 to $80. A lot of people add flowers to every nail, which can make the design feel busy. Limit the art to one or two nails on each hand. Keep the colors muted and use a glossy top coat to protect the small details.
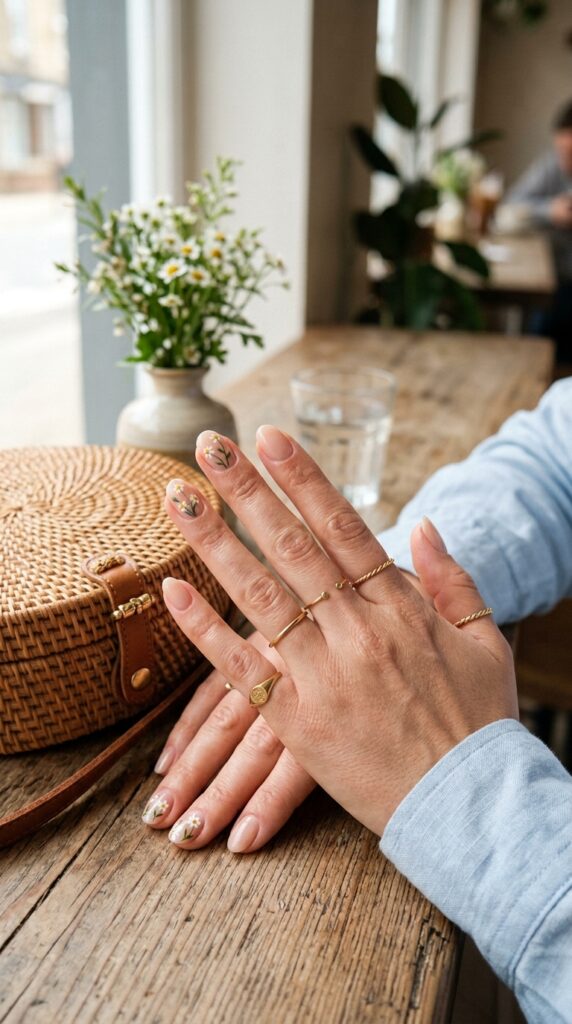
13. Clear Nails with Fine White Curves
Fine white curves create a soft abstract design that still feels clean. The lines can follow the side of the nail, sweep across one corner, or create a gentle wave near the tip. A clear or sheer base keeps the overall look light.
Use a thin liner brush and white gel or regular polish. Paint one curved line on selected nails and leave the others plain. A fine brush and two polishes may cost $12 to $25, while salon nail art could range from $40 to $75. What I personally love about this is that no two lines need to match exactly. The design can look more natural when each curve is slightly different. Avoid adding several overlapping lines on every nail. One clear movement is enough to create interest.
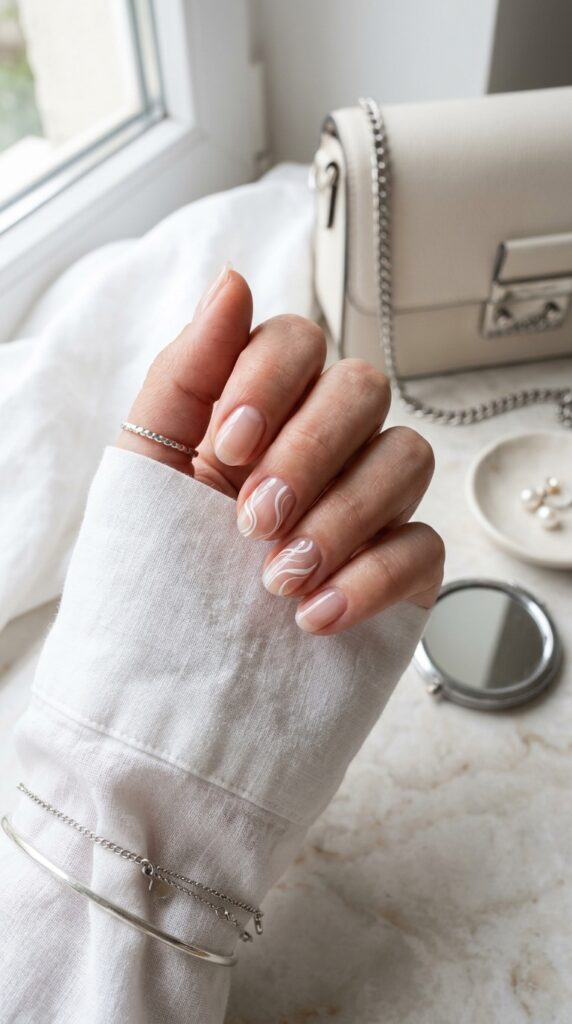
14. Muted Sage Green Nails
Muted sage green gives minimalist nails a gentle touch of color. The shade feels calm and wearable, especially when paired with cream clothing, natural fabrics, and simple gold accessories. It adds personality without becoming too bright.
Choose a soft gray-green rather than a vivid or neon tone. Apply two thin coats and finish with gloss or a soft matte top coat. A bottle usually costs $8 to $18, while a salon manicure may range from $25 to $60. I always recommend testing green polish against your skin before painting every nail. Some shades lean yellow, while others lean blue. Avoid mixing sage with several accent colors if you want the look to remain clean. One small cream dot or a single nude accent nail is enough.
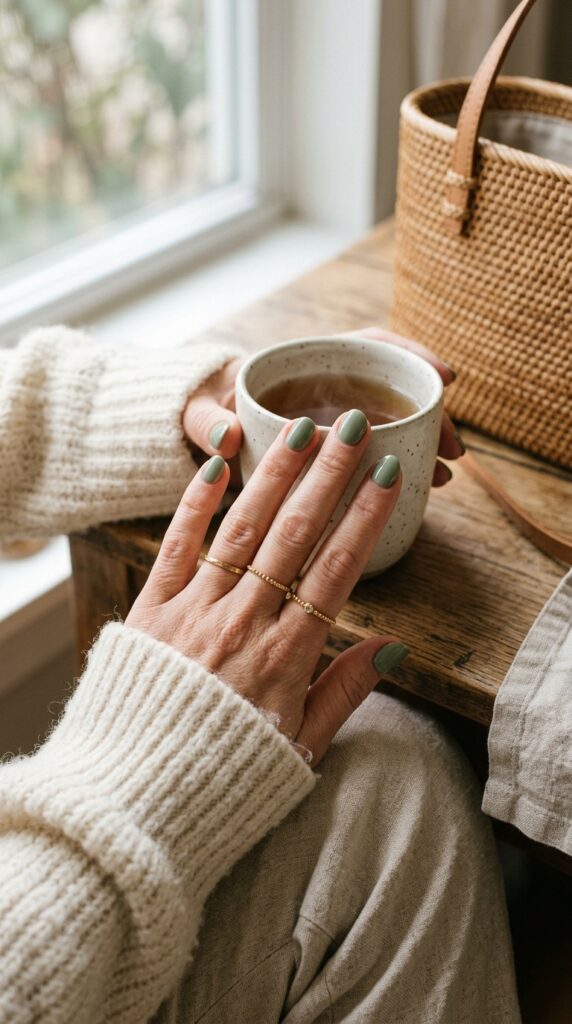
15. Bare Nails with a Single Side Accent
A bare or barely tinted nail with one fine side accent feels modern and understated. The detail might be a narrow black line, a tiny gold strip, or a soft white curve placed along one edge. It keeps most of the natural nail visible while adding a clean graphic touch.
Apply a strengthening clear coat or sheer nude base first. Add the accent with striping tape or a fine brush, then seal it with gloss. Supplies can cost $10 to $25, while a salon version may range from $35 to $70. In my experience, the biggest mistake here is placing the side detail too close to the skin, where it can look uneven or lift quickly. Leave a small clean gap around the cuticle and sidewall. Keep the nail shape neat because this design draws attention to the natural outline.
Conclusion
Minimalist nails work because they focus on shape, color, and a few small details rather than covering every nail with heavy art. A thin tip, sheer base, fine line, or tiny accent can make your hands look polished while still fitting into everyday life. These designs also work well when you want something suitable for work, weekends, weddings, or casual outfits.
The best part about these 15 minimalist nail designs that look clean and chic is that many of them are affordable and easy to adjust. You can try a sheer pink manicure at home, add one small accent nail, or bring a saved design to your next salon appointment. Start with one or two ideas that match your usual wardrobe and nail shape.
You do not need long nails, expensive products, or detailed art to create a stylish result. Clean edges, thin layers, healthy cuticles, and a smooth top coat often matter more than complicated decoration. Choose colors you will enjoy wearing for several days, and keep the details simple enough to suit your routine.
Which idea would you try first? I’d love to hear what you’re planning.
FAQs
What nail shape looks best with minimalist designs?
Short oval, round, almond, and soft square shapes all work well with minimalist nail art. The best choice depends on your natural nail shape and daily routine. Clean filing and balanced length matter more than following one specific trend.
Which nail colors look clean and chic?
Sheer pink, milky white, beige, taupe, soft brown, muted sage, and clear polish create a clean look. These shades work well with simple lines, dots, and fine French tips. Choose a tone that complements your skin and usual wardrobe.
Can minimalist nail designs work on very short nails?
Yes. Micro French tips, tiny dots, side accents, sheer polish, and narrow vertical lines all suit short nails. Keep the artwork small so it does not overwhelm the nail plate. Shorter nails often make these designs look especially neat.
How can I make a minimalist manicure last longer?
Start with clean, dry nails and apply thin layers of base coat, polish, and top coat. Seal the free edge with top coat to reduce early chipping. Wear gloves during cleaning and reapply a clear top coat after a few days.
Are minimalist nail designs easy to do at home?
Many are easy to recreate with a fine brush, dotting tool, nail guides, or striping tape. Begin with simple designs such as sheer polish, one dot, or a micro tip. Practice details on foil before applying them to your nails.