Small Pantry Organization Hacks for a Clutter-Free Kitchen
If opening your pantry feels like a balancing act, you’re not alone. Small pantries can become crowded fast. Half-empty cereal boxes, mismatched containers, forgotten snacks, and overflowing shelves make it hard to find what you need. Before long, you end up buying duplicates simply because you couldn’t see what you already had. The good news is that you don’t need a custom pantry or a large budget to create a space that feels organized and easy to use.
These Small Pantry Organization Hacks for a Clutter-Free Kitchen will help you make the most of every shelf, corner, and door. You’ll find practical DIY organization ideas, affordable storage solutions, and simple styling tips that make your pantry both functional and attractive. Whether you’re organizing a tiny apartment pantry or refreshing a family kitchen, these ideas can help you save space, reduce clutter, and enjoy a kitchen that feels calmer every day.
1. Small Pantry Organization Hacks with Clear Storage Containers
One of the quickest ways to make a pantry feel neat is by replacing bulky packaging with matching clear containers. Seeing flour, rice, pasta, cereal, and snacks through transparent containers creates clean lines and makes shelves look instantly more organized. The simple shapes reduce visual clutter while helping you notice when supplies are running low. Even a small pantry feels brighter and more spacious when colorful food packaging is replaced with uniform containers.
A starter set of airtight containers usually costs $30 to $80. Choose stackable containers with flat lids to maximize vertical space. Label each container using simple waterproof labels for an even cleaner look. In my experience, the biggest mistake here is buying containers before measuring the shelves. Measure the shelf height first so lids can open easily without wasting valuable space.
2. Add Tiered Shelf Organizers
Deep pantry shelves often hide smaller cans and jars behind larger items. Tiered shelf organizers solve that problem by lifting items into easy view. Instead of digging through several rows, you can quickly see soups, spices, canned vegetables, and sauces at a glance. The stepped arrangement also creates a tidy display that feels satisfying every time you open the pantry.
Most expandable shelf risers cost between $15 and $40. Use them for canned goods, spices, baking supplies, or condiments. Place heavier items on the lowest level for added stability. What I personally love about this idea is that it instantly makes everyday cooking easier because everything stays visible without constantly rearranging the shelves.
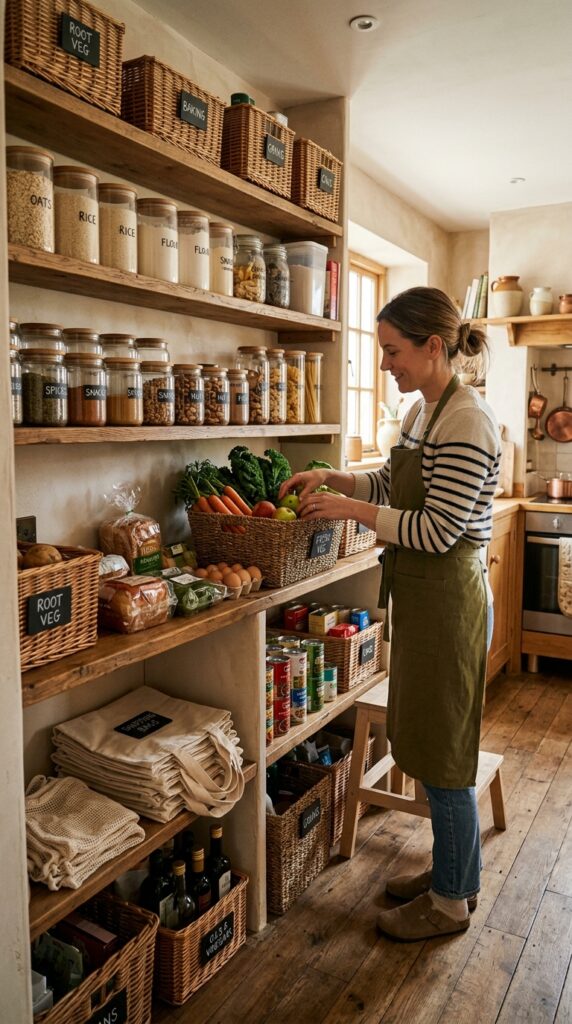
3. Use Matching Woven Baskets
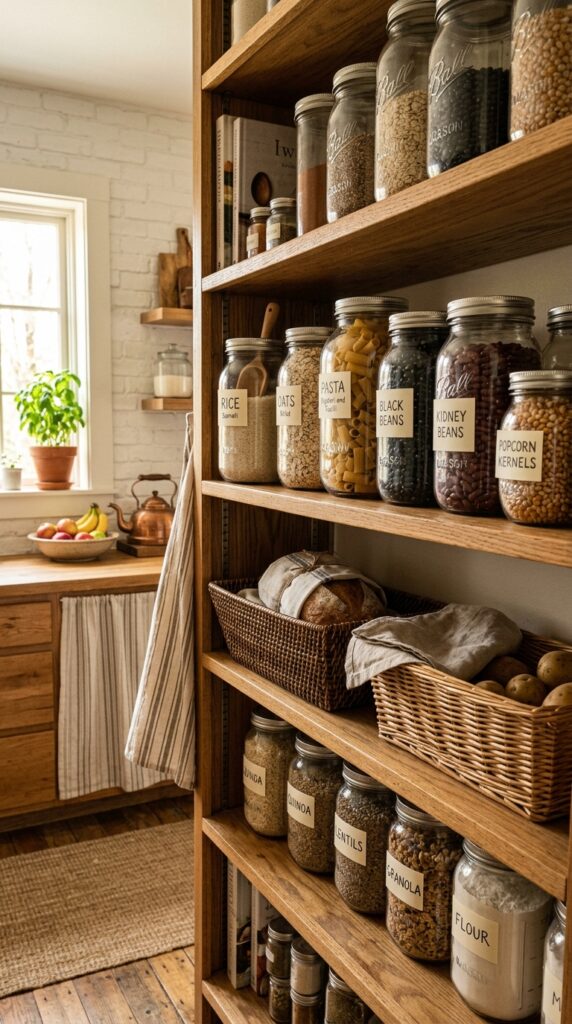
Woven baskets soften the look of a pantry while hiding everyday clutter. Instead of seeing random snack bags, baking supplies, tea boxes, or breakfast items, you’ll see neat natural baskets that add warmth and texture. Labels on the front keep everything easy to find while maintaining a calm, organized appearance.
Quality woven baskets usually cost $10 to $35 each. Choose baskets that fit your shelf depth without wasting space behind them. Group similar items together, such as baking ingredients, snacks, breakfast foods, or pasta. A lot of people skip labeling baskets because they think they’ll remember what’s inside, but labels save time for everyone in the household.
4. Small Pantry Organization Hacks Using Door Storage
The inside of the pantry door offers valuable storage that often goes unused. Slim racks or hanging organizers can hold spices, seasoning packets, cooking oils, foil, wraps, or small snack bags without taking away shelf space. Using the door also keeps frequently used items within easy reach while reducing crowding inside the pantry itself.
Door organizers generally cost $20 to $60 depending on size and material. Make sure shelves aren’t too deep or the door may not close properly. I always recommend storing lighter items on door racks because heavier bottles can put unnecessary stress on the hinges over time. It’s a simple change that makes a surprisingly big difference.
5. Divide Snacks Into Individual Bins
Loose snack bags scattered across pantry shelves quickly create clutter. Giving each category its own storage bin keeps everything organized while making it easier for children and adults to grab what they need. Clear bins filled with granola bars, crackers, chips, dried fruit, and healthy snacks create a tidy display that feels inviting instead of chaotic.
Storage bins usually cost between $8 and $25 each, making this one of the most affordable pantry upgrades. Choose bins with built in handles so they’re easy to pull off high shelves. A lot of people overfill snack bins, but leaving a little extra room makes restocking much easier and prevents crushed packaging.
6. Create a Dedicated Baking Station
If you enjoy baking, keeping everything in one area saves time and reduces mess. Picture a shelf where flour, sugar, brown sugar, cocoa powder, chocolate chips, baking soda, and measuring cups all sit together in matching containers. The shelves look calm and organized, and you no longer have to search through the pantry for one missing ingredient while mixing a recipe.
You can create a baking station for $30 to $80 using airtight containers, a lazy Susan for smaller ingredients, and simple labels. Store heavier items on lower shelves for easier lifting. What I personally love about this setup is how much faster baking becomes. A lot of people scatter baking supplies throughout the pantry, but keeping them together makes every recipe feel much easier.
7. Use Lazy Susans for Small Bottles and Jars
Small bottles often disappear behind larger items, wasting both space and food. A rotating lazy Susan keeps oils, vinegar, sauces, peanut butter, jams, and condiments visible with one simple spin. The circular organizer creates a cleaner look while making everyday cooking much more convenient.
Most quality lazy Susans cost between $15 and $35. Choose one with a raised edge to keep bottles from sliding off while rotating. In my experience, the biggest mistake here is overcrowding the tray. Leaving a little extra room allows it to spin smoothly and makes every item easy to grab.
8. Store Dry Goods in Glass Jars
Glass jars add warmth and make pantry staples look beautiful while keeping food fresh. Rice, beans, oats, lentils, nuts, popcorn kernels, and pasta become part of the decor instead of visual clutter. The clean glass reflects light, helping a small pantry feel brighter and more open.
Glass storage jars usually range from $20 to $60 for a starter collection. Choose airtight lids to keep ingredients fresh longer and use matching labels for a consistent look. I always recommend placing the jars with the most frequently used foods at eye level. This simple habit makes cooking easier while maintaining an organized pantry.
9. Maximize Vertical Space with Shelf Risers
Many pantry shelves leave several inches of unused space above shorter items. Shelf risers instantly double your storage by creating another level for dishes, canned goods, mugs, or pantry containers. Instead of stacking items in unstable piles, everything stays visible and easy to reach.
Most shelf risers cost between $15 and $40, making them one of the most budget friendly organization upgrades. Measure your shelves before shopping so the risers fit comfortably. A lot of people ignore vertical space, but it often provides the biggest storage improvement without changing the pantry itself.
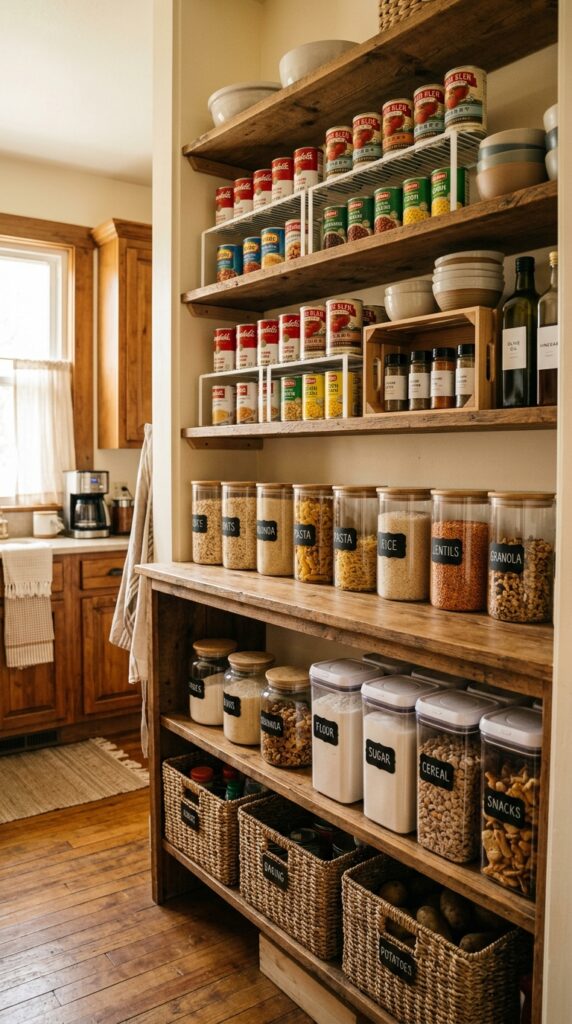
10. Label Everything Clearly
Labels may seem like a small detail, but they completely change how a pantry functions. When every container, basket, and shelf has a clear label, everyone in the household knows exactly where things belong. The pantry stays organized longer because putting groceries away becomes simple instead of confusing.
Creating labels costs anywhere from $10 to $30, depending on whether you use a label maker, printable stickers, or reusable chalkboard labels. Choose simple fonts that are easy to read from a distance. What I personally love about labeled pantries is that they stay organized with much less effort. A lot of people skip this final step, but it makes all the difference when maintaining a clutter free kitchen.
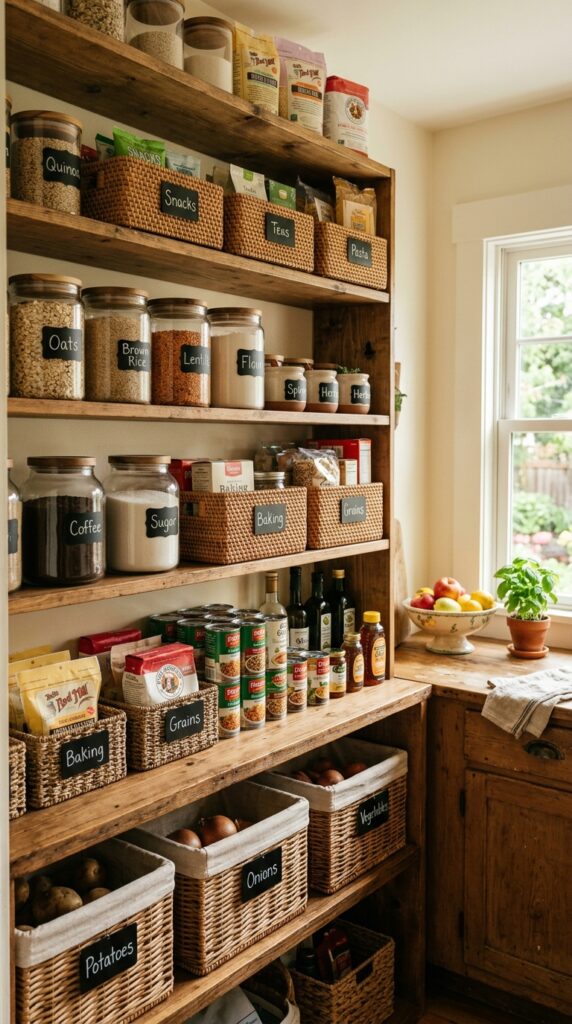
11. Use Stackable Bins to Double Your Storage
Stackable bins help you take advantage of every inch of shelf space without creating messy piles. Instead of balancing boxes on top of each other, you can neatly separate snacks, baking supplies, canned foods, or pasta into sturdy bins that fit together. The clean lines make even a busy pantry feel calmer, and everything is easier to find during meal prep.
Most stackable pantry bins cost between $15 and $40 for a set. Look for clear bins with built in handles so you can slide them out without disturbing other items. In my experience, the biggest mistake here is mixing too many food categories in one bin. Giving each bin a single purpose keeps the pantry organized for much longer.
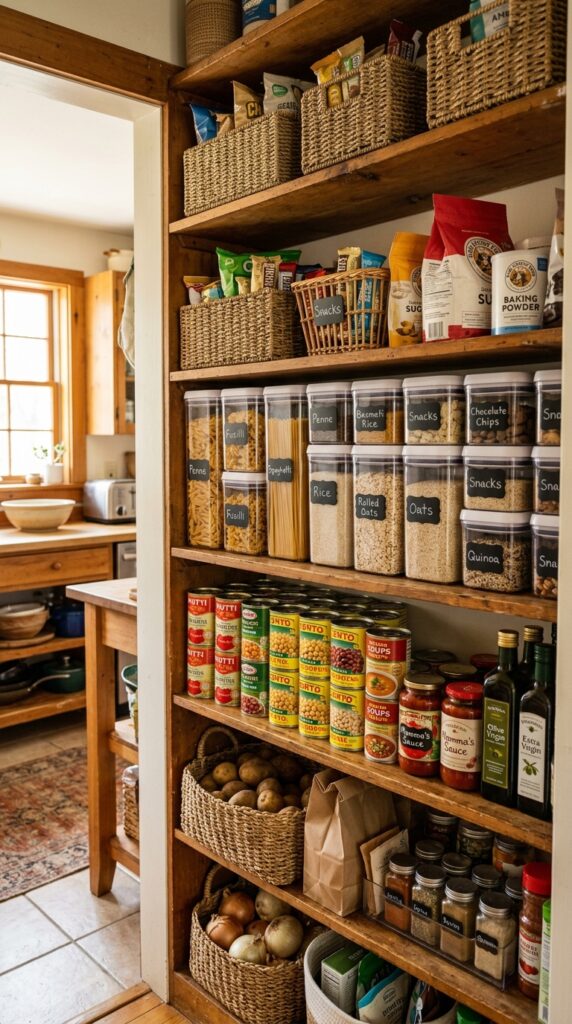
12. Store Bulk Items on the Lowest Shelf
Large bags of flour, rice, pet food, bottled drinks, or extra paper towels can quickly make a pantry feel crowded. Placing these heavier items on the bottom shelf creates a more balanced layout while keeping higher shelves free for everyday essentials. The pantry instantly feels less overwhelming because the lighter items remain within easy reach.
This organization method doesn’t require buying new storage, although sturdy storage bins costing $20 to $50 can make bulky products easier to handle. I always recommend checking expiration dates while rearranging larger items. A lot of people push older products to the back, where they often get forgotten.
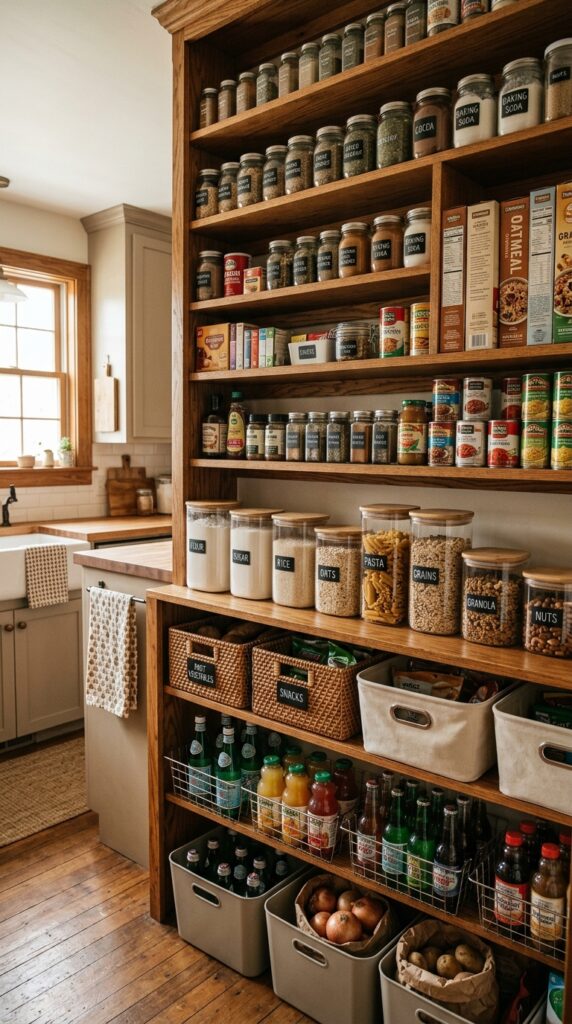
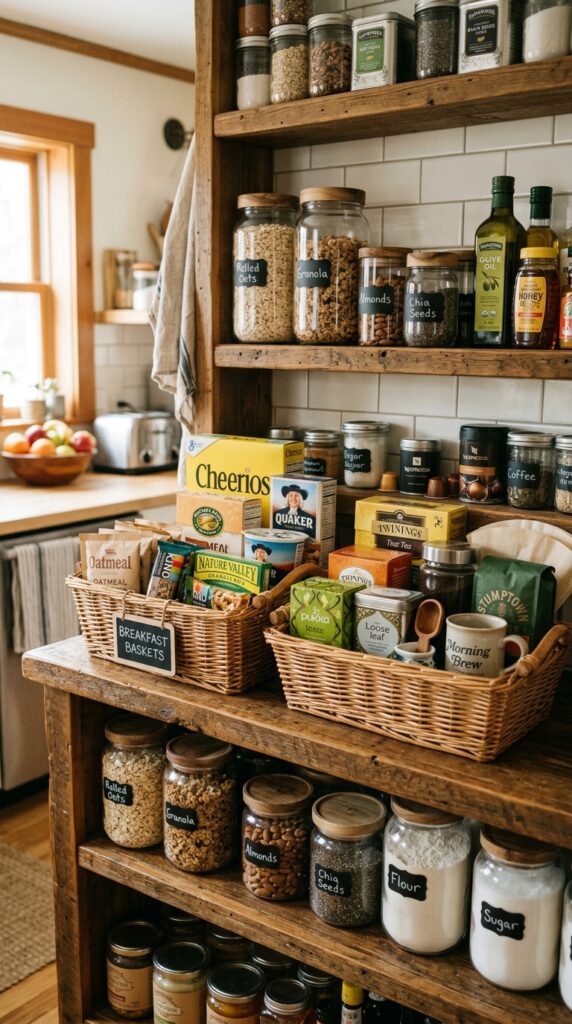
13. Create Grab and Go Breakfast Baskets
Busy mornings become much easier when breakfast foods are grouped together. Fill a basket with oatmeal packets, granola bars, cereal cups, breakfast biscuits, or tea bags so everyone knows exactly where to look. The woven texture adds warmth while keeping the shelves neat instead of cluttered with loose boxes.
You can create this setup for $10 to $30 using simple baskets or handled bins. Place the breakfast basket on an easy to reach shelf if children use it daily. What I personally love about this idea is that it simplifies busy mornings without adding extra work during the week.
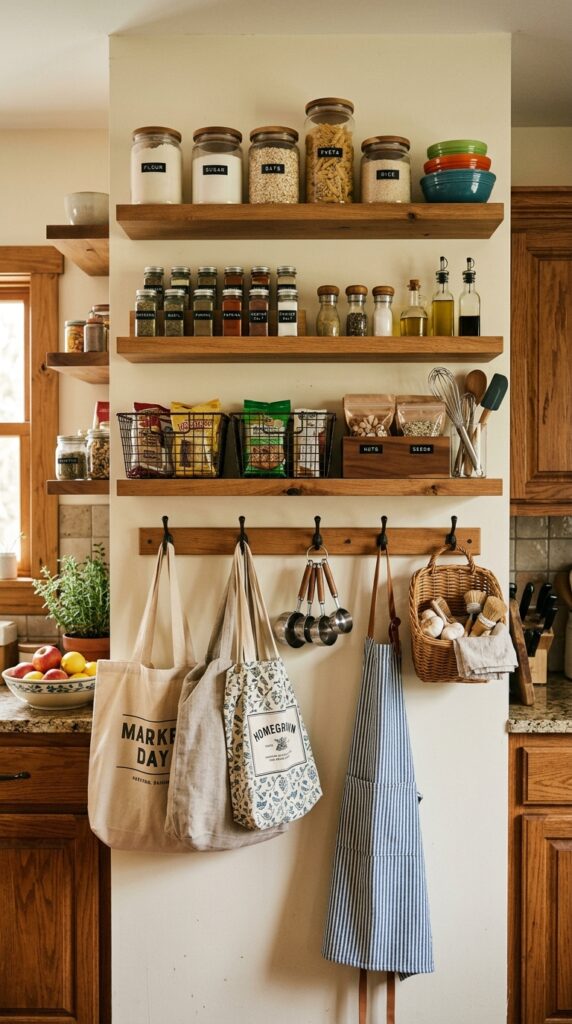
14. Add Small Hooks for Extra Storage
The inside walls of a pantry often have unused space that can hold lightweight kitchen tools. Small adhesive or screw mounted hooks can store reusable shopping bags, measuring cups, aprons, or lightweight baskets without taking away valuable shelf space. It’s a simple change that helps keep frequently used items close at hand.
Hooks usually cost between $8 and $25, making this one of the least expensive pantry upgrades. Install them where they won’t interfere with shelves or stored food. A lot of people forget about vertical wall space, but using it wisely helps every shelf stay less crowded.
15. Schedule a Five Minute Weekly Pantry Reset
Even the most organized pantry needs a quick refresh from time to time. Spending just five minutes each week putting items back in their proper places, wiping shelves, and checking expiration dates keeps clutter from building up again. The pantry stays clean, and grocery shopping becomes much easier because you always know what you already have.
This habit costs nothing, but it offers one of the biggest long term benefits. Keep a small cleaning cloth and marker nearby for quick touch ups and relabeling if needed. I always recommend making this part of your weekly grocery routine because small maintenance sessions are much easier than complete pantry overhauls.
Conclusion
A well organized pantry doesn’t require expensive renovations or endless storage products. These Small Pantry Organization Hacks for a Clutter-Free Kitchen show that simple changes can make a noticeable difference in both how your pantry looks and how it works every day. Whether you start with clear containers, labeled baskets, door storage, or stackable bins, each improvement helps reduce clutter while making meal preparation faster and less stressful.
You don’t have to organize everything at once. Start with one or two ideas that fit your budget and your space. As you build better habits, your pantry will stay organized with much less effort. Small improvements often have the biggest impact, especially when they combine practical storage with warm, Pinterest worthy home styling.
Which pantry organization hack would you try first? I’d love to hear what you’re planning.
FAQs
How do I organize a very small pantry?
Begin by removing everything and grouping similar foods together. Use clear containers, stackable bins, and door organizers to maximize available space. Focus on keeping frequently used items at eye level and heavier products on lower shelves.
What containers are best for pantry organization?
Airtight clear containers work well because they keep food fresh while allowing you to see what’s inside. Square or rectangular containers usually use shelf space more efficiently than round ones. Choose stackable styles whenever possible.
How often should I clean and organize my pantry?
A quick five minute reset each week keeps clutter from building up. Every three to four months, remove everything, wipe the shelves, and check expiration dates. Regular maintenance is much easier than starting over.
Is pantry labeling really necessary?
Yes. Labels help everyone in the household return items to the correct place. They also make grocery shopping easier because you can quickly see what needs to be replaced without searching through containers.
How can I organize my pantry on a budget?
Start with affordable bins, baskets, and labels from discount or dollar stores. Repurpose glass jars from pasta sauce or jam for dry goods, and add inexpensive shelf risers over time. Small changes can have a big impact without spending much money.